
Note—I do not know what happened, but the original post and comments were deleted. If there are any questions regarding paint/ products, feel free to comment again and I’ll try to respond. :)
Well goodness gracious. Jason and I just finished installing the last outlet covers for the kitchen and it felt like a huge sigh of relief! The last couple of months have been a whirlwind of crazy hard work and dedication. But we have a completed kitchen, yay! And we've been able to host larger groups of friends and family and that has made the project well worth it.
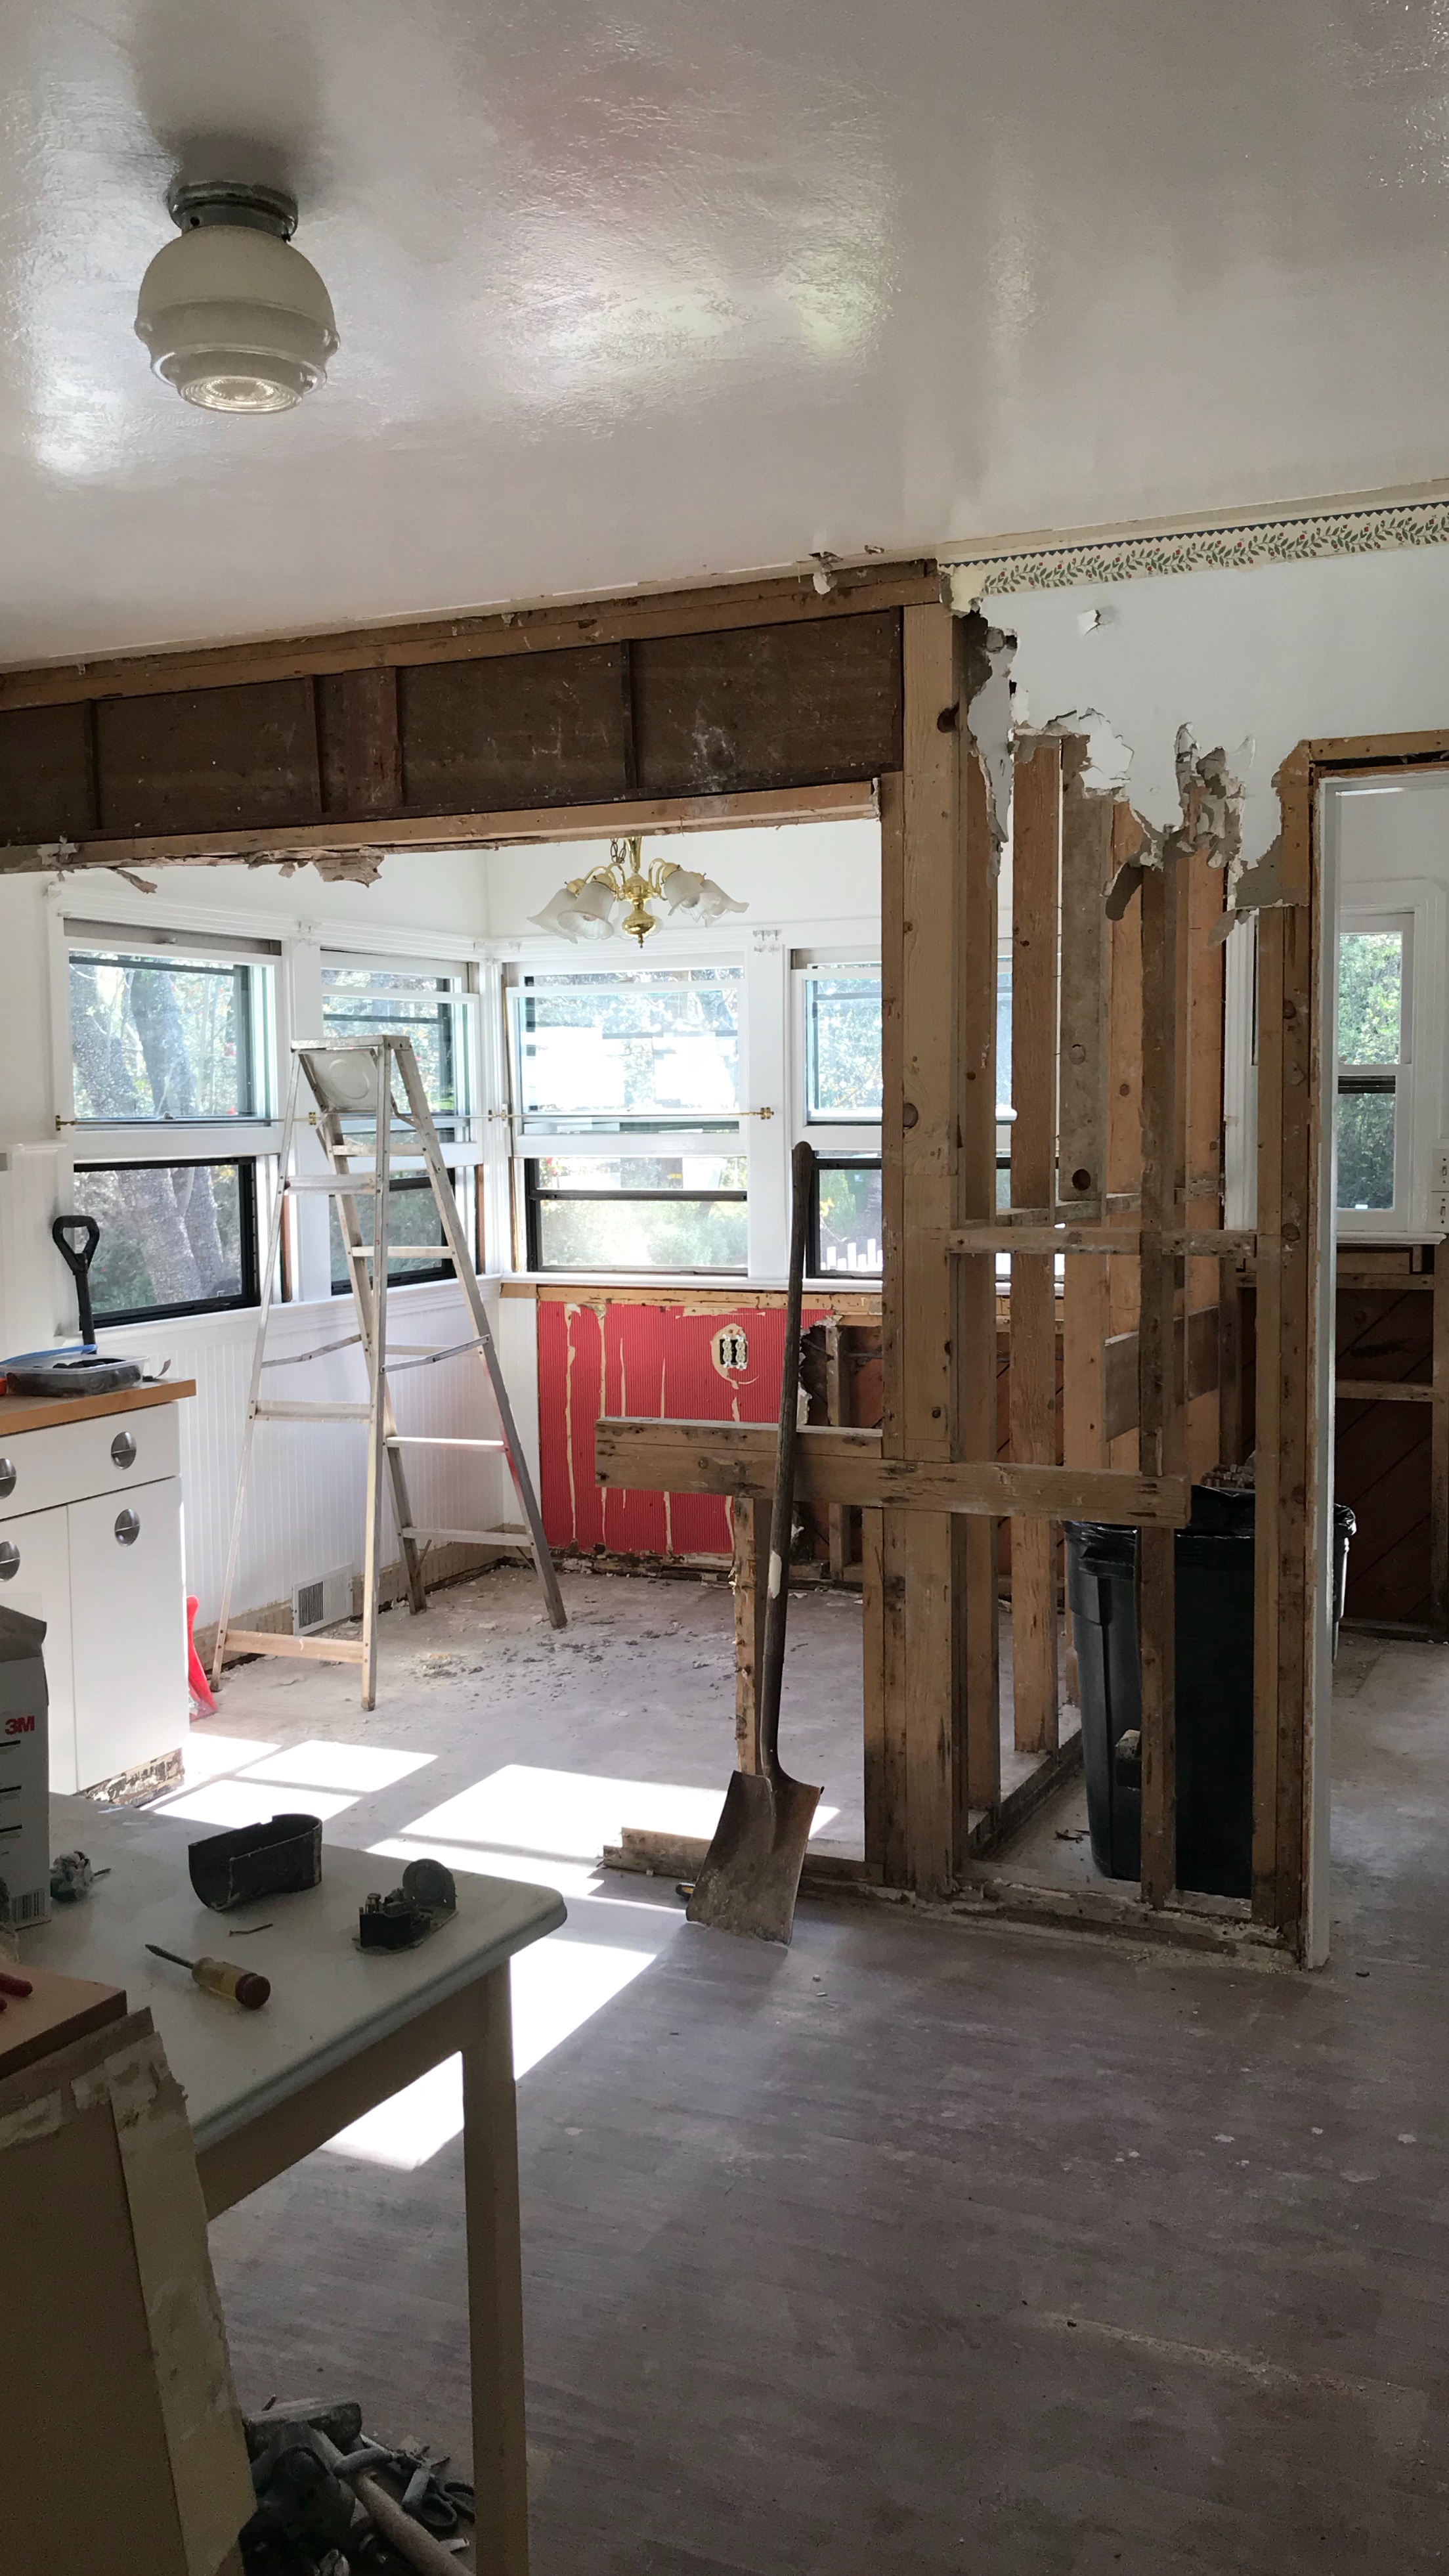
From this perspective, there were two rooms; to the left a small and narrow dining nook and on the right, a laundry room. We removed the walls for the laundry room, moved the plumbing a little bit over, kept the laundry room closets for our pantry and added an engineered header to support the roofline and upstairs. The header was a big project, one that took a large portion of our budget, but it was the most important! Dayn at Martin Timberworks did the work and left his trademark screw plugs.
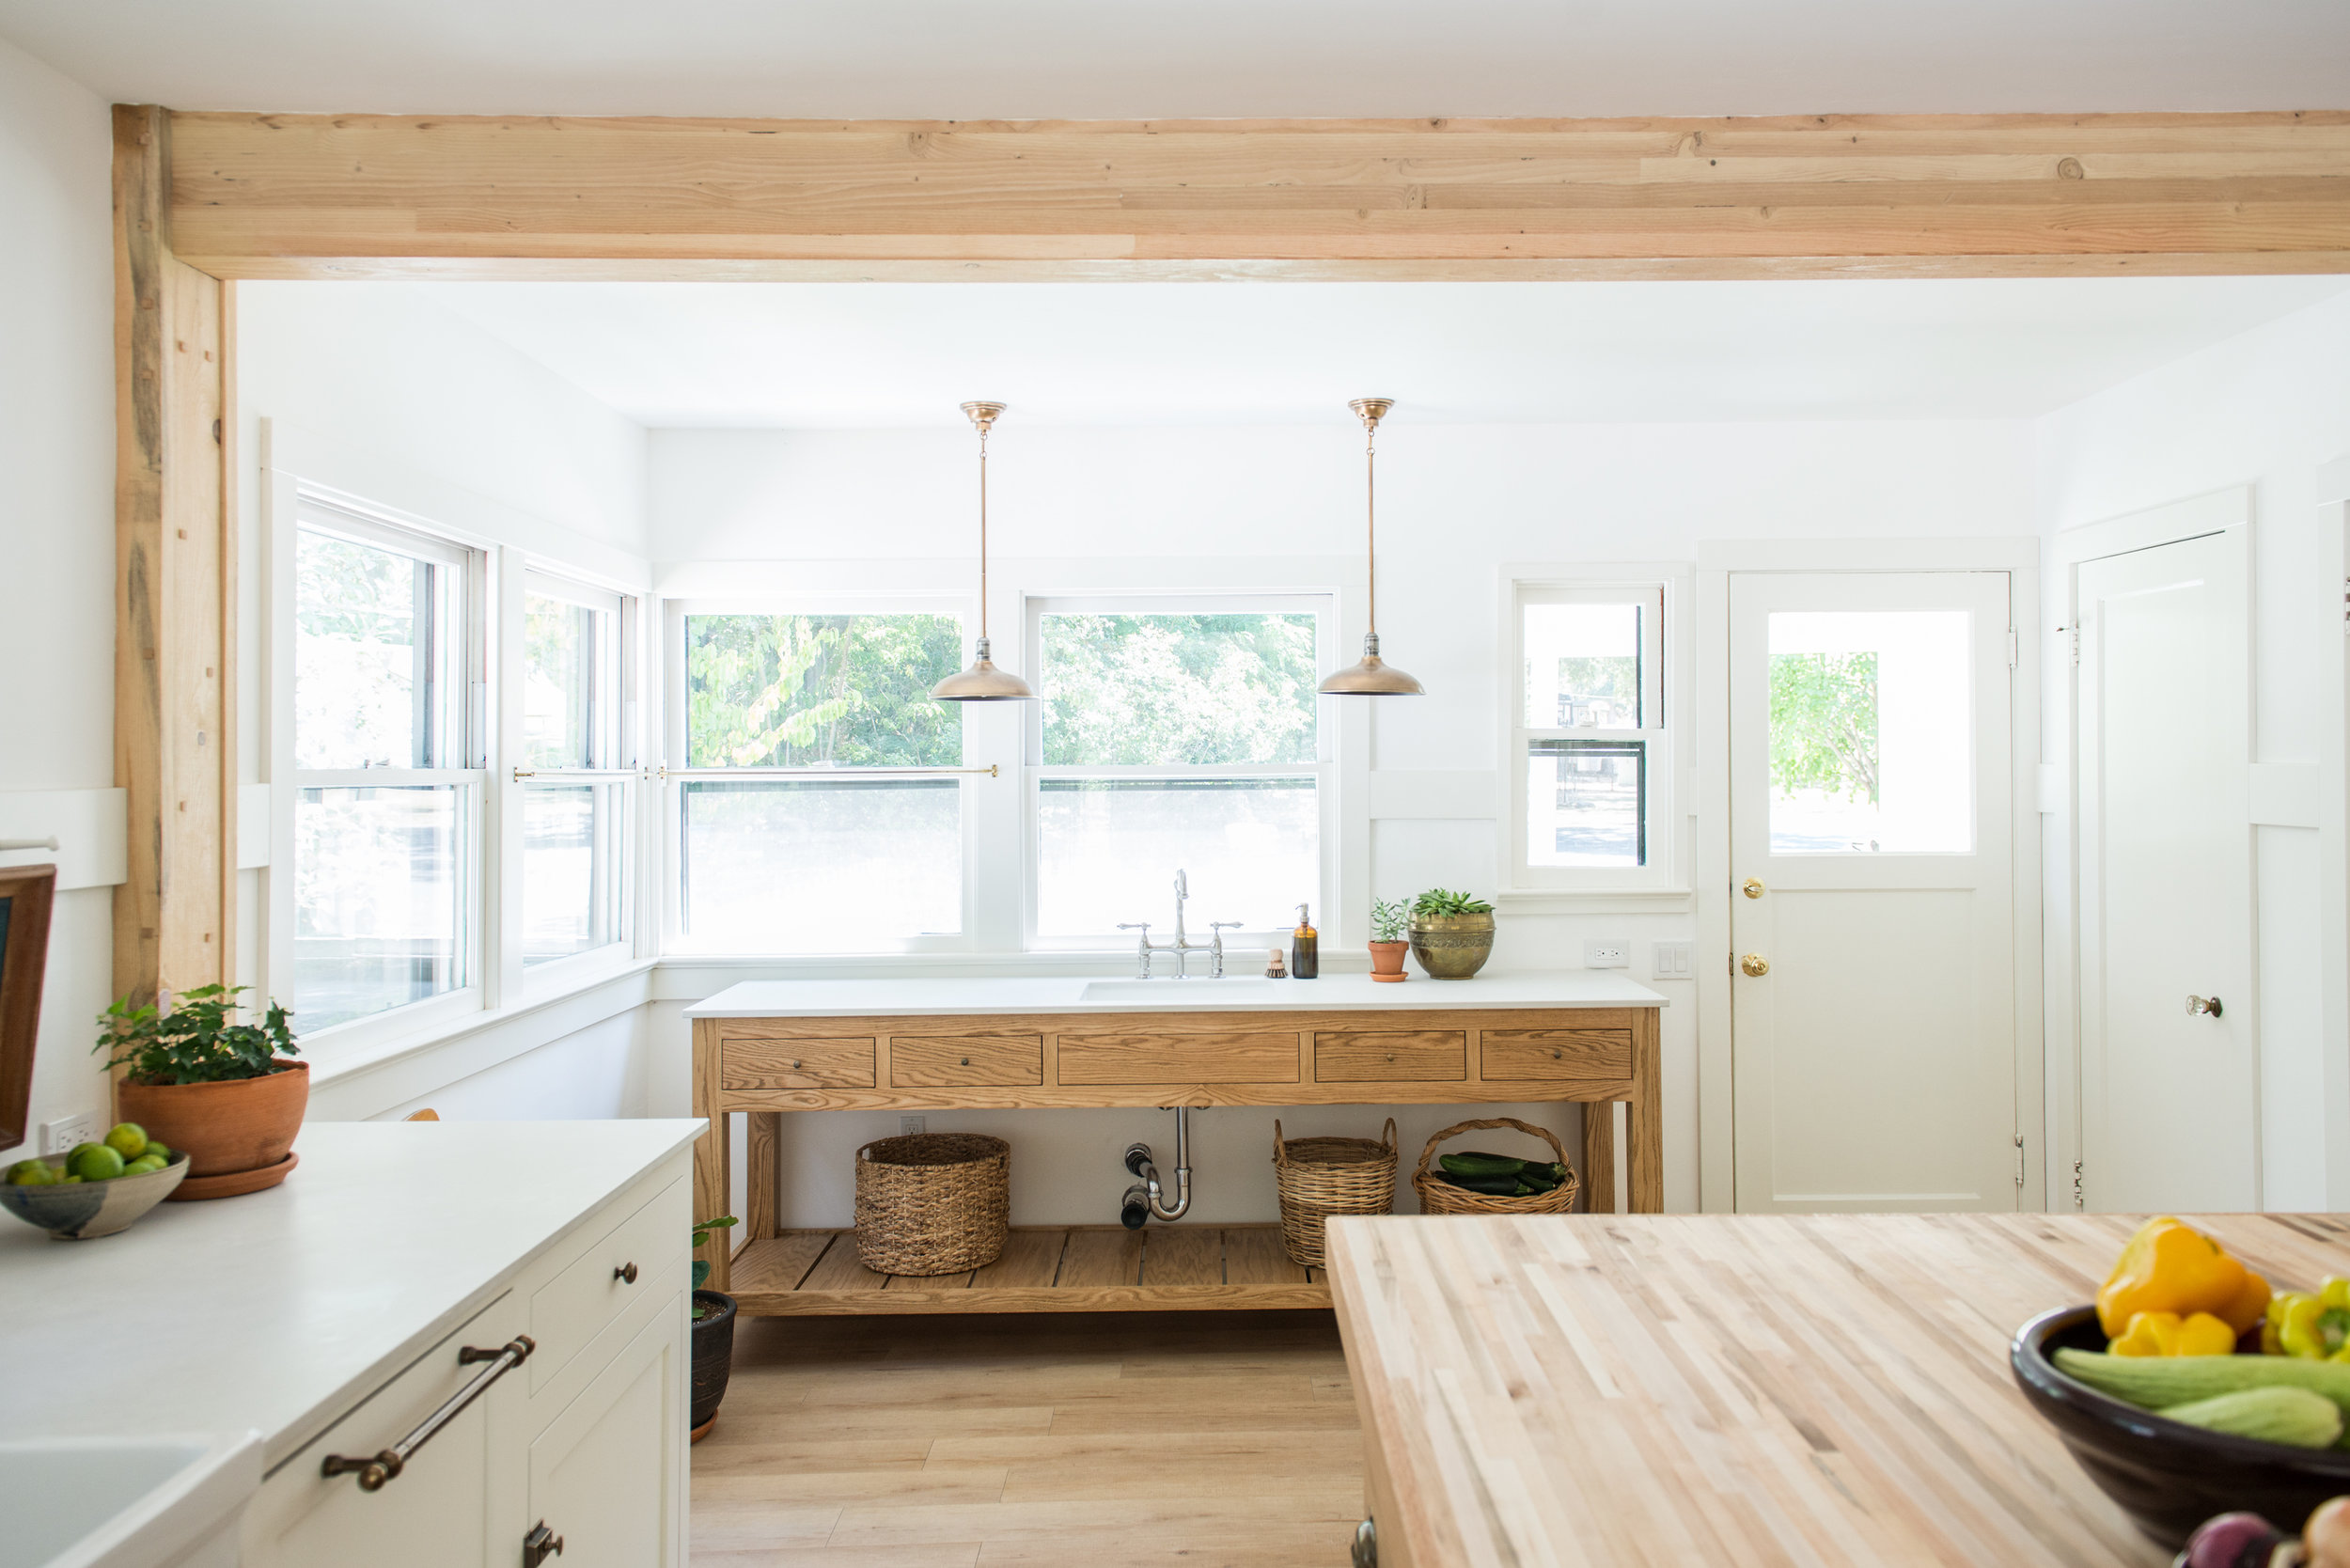
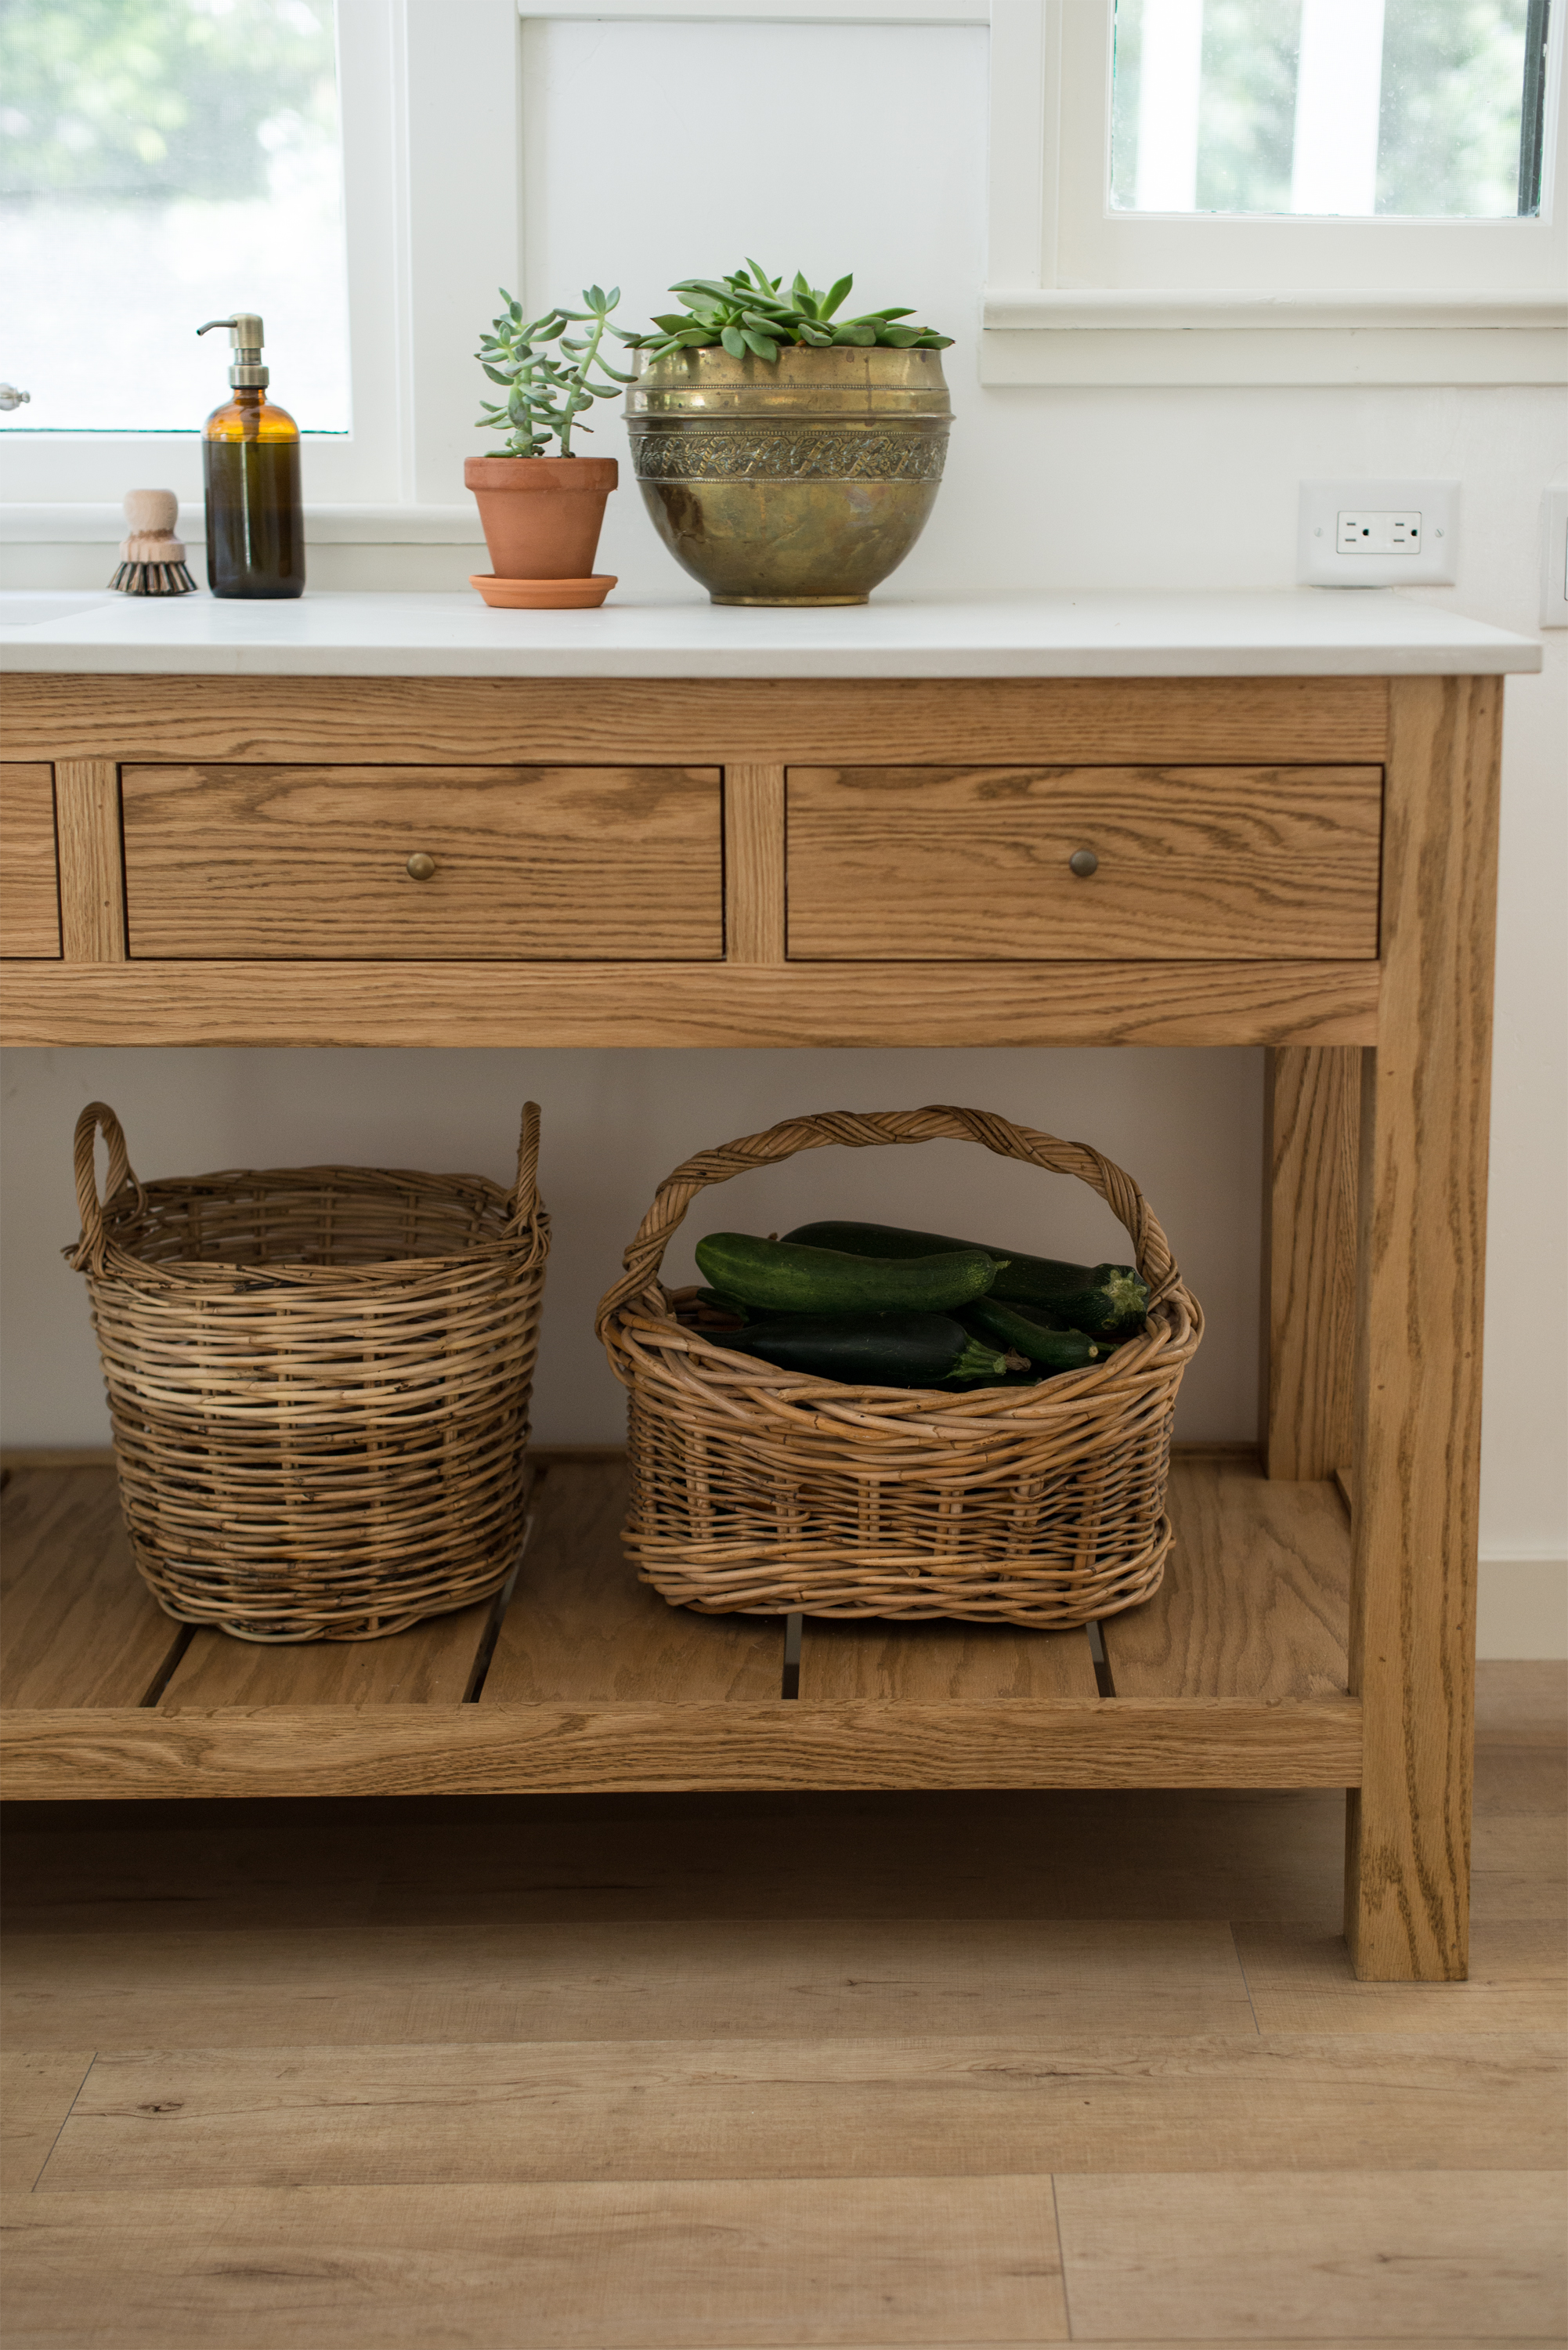
I designed the prep table to be some sort of potting table/ prep table. My hope was for it to be in white oak, however, I learned something new... apparently white oak is on the east coast and red oak is on the west, so if you're on the west coast, you'll pay a pretty penny for white, and if you're on the east coast, it's pretty expensive to buy red. So we settled with red and I had to stain it with a gray based stain in order to tone down the oranginess of it. I really do love the grain that it brings into an otherwise low contrast room. As of now the table serves as the smoothie bar, the kids' sink, and a place to put drinks when people come over. To give you a size perspective, the table is 8 ft long. This room is really large, but it's hard to get a feel for it based off of pictures.
The lights over the prep table are from Lamps Plus (although they're not available any longer), sink and faucet are from Signature Hardware --their faucets are super hardy, but reasonably priced compared to similar styles. I didn't want all of my hardware, faucets and lighting to match in finish, but I wanted it to look like it was pieced together over time. Try to ignore the unfinished plumbing under the sink. As with most of this entire project, the finishing pieces have to be custom ordered. (Eye roll!!)


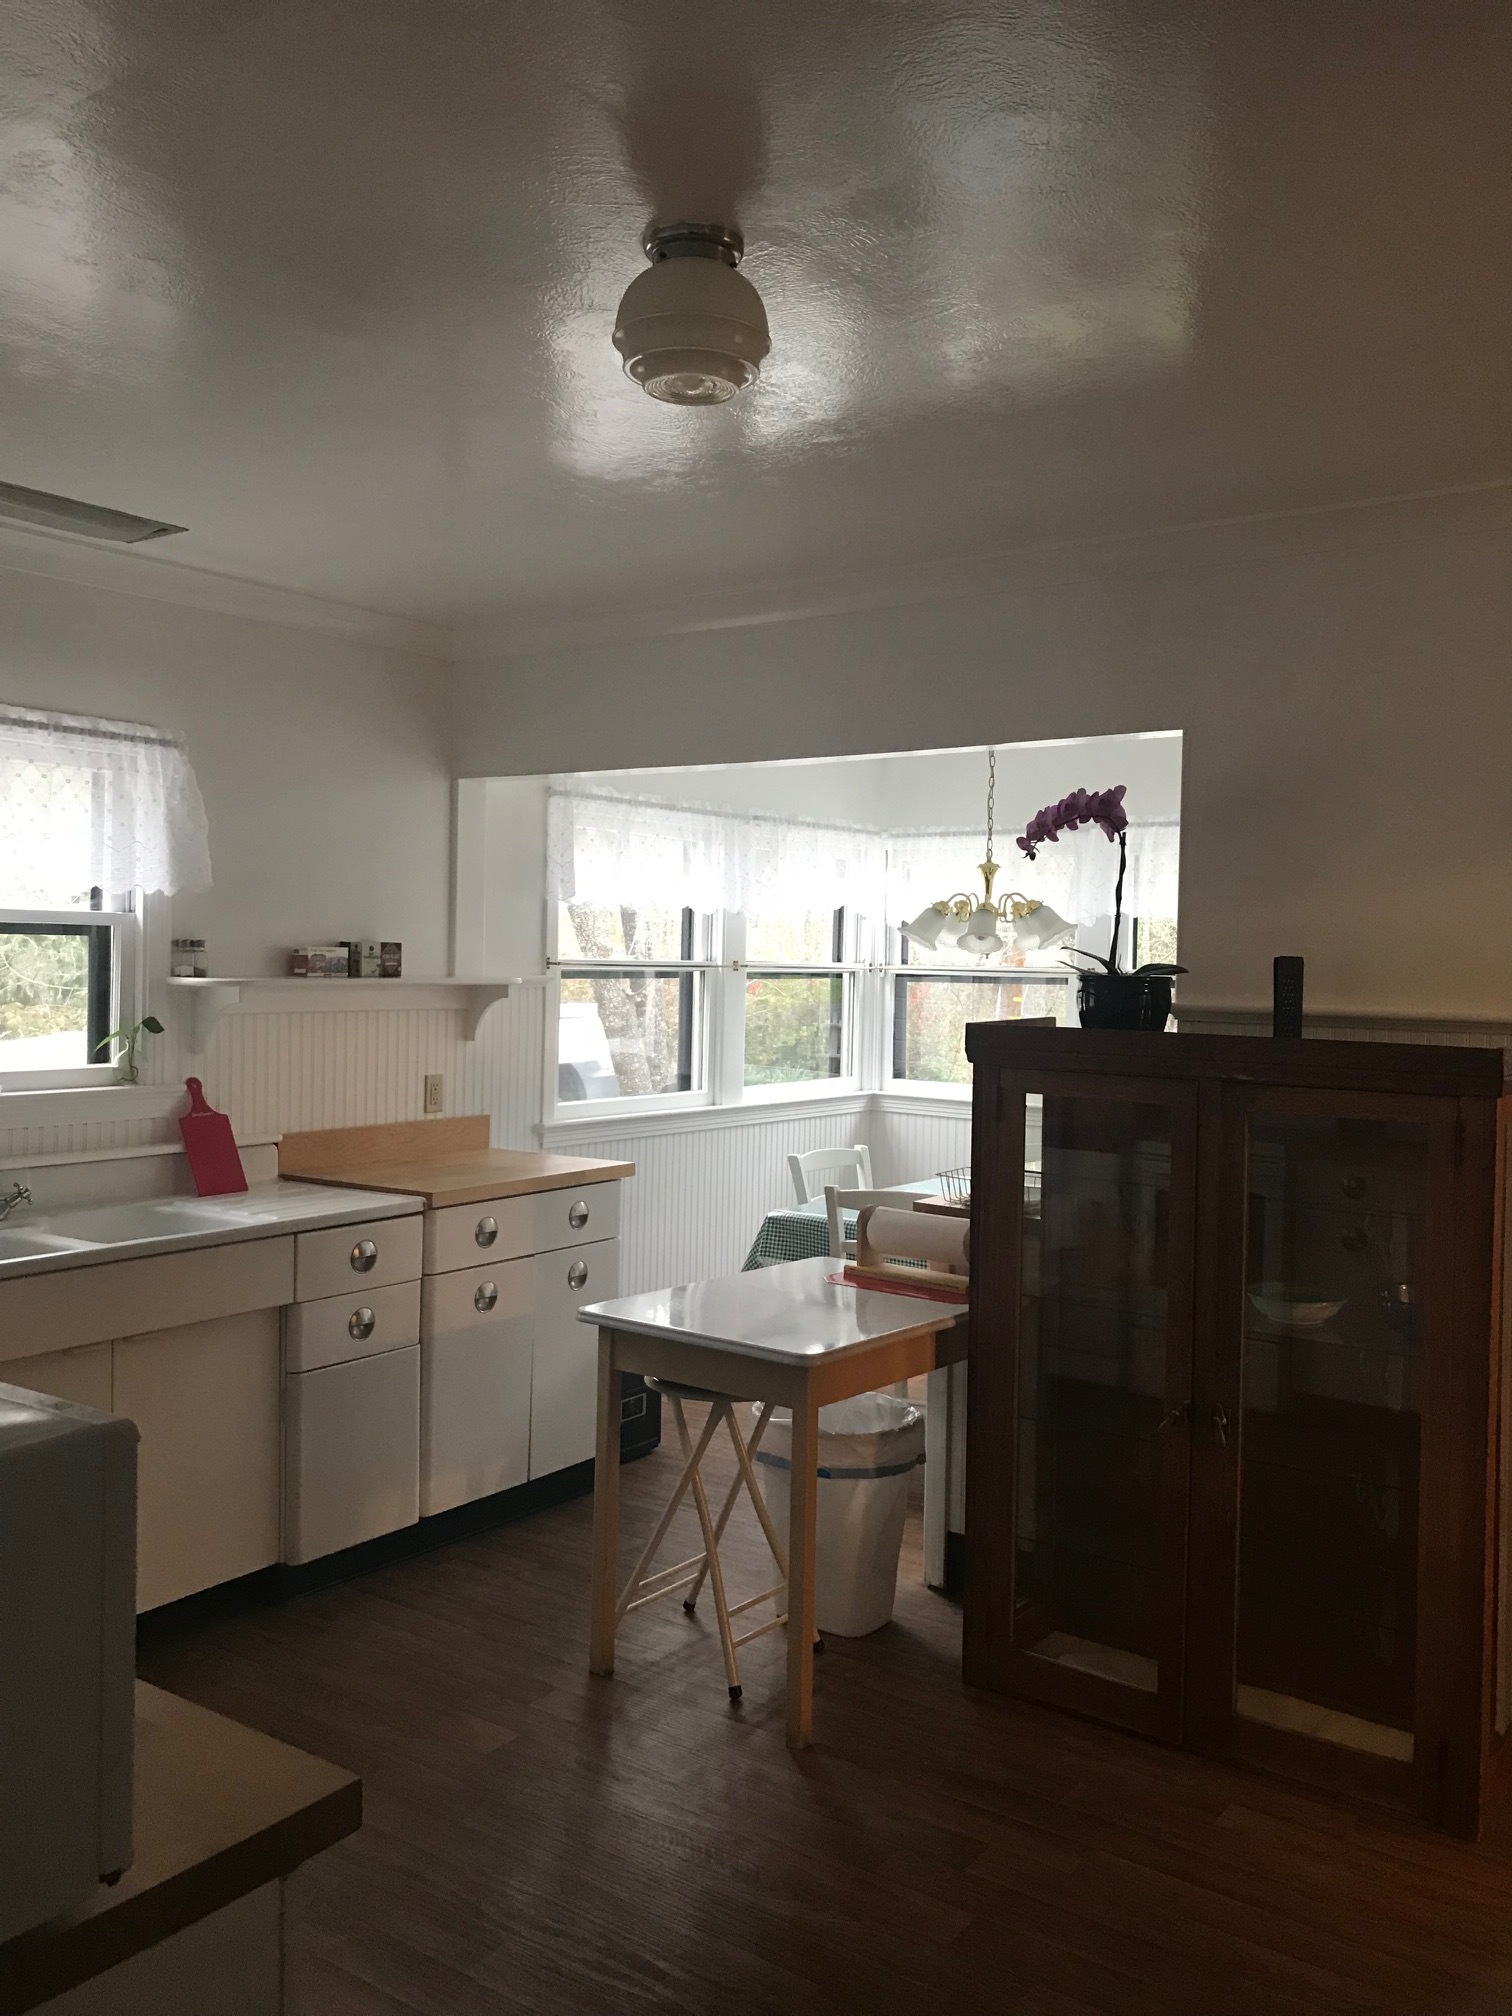
Here is a before photo. The laundry room wasn't captured, however, but you'll get an idea of the dining nook. I have really sweet memories of my boys knocking down that wall. It was the first wall to come down. The not so sweet memories are of all of us tearing down the drywall of the entire room for my Mother's Day present!

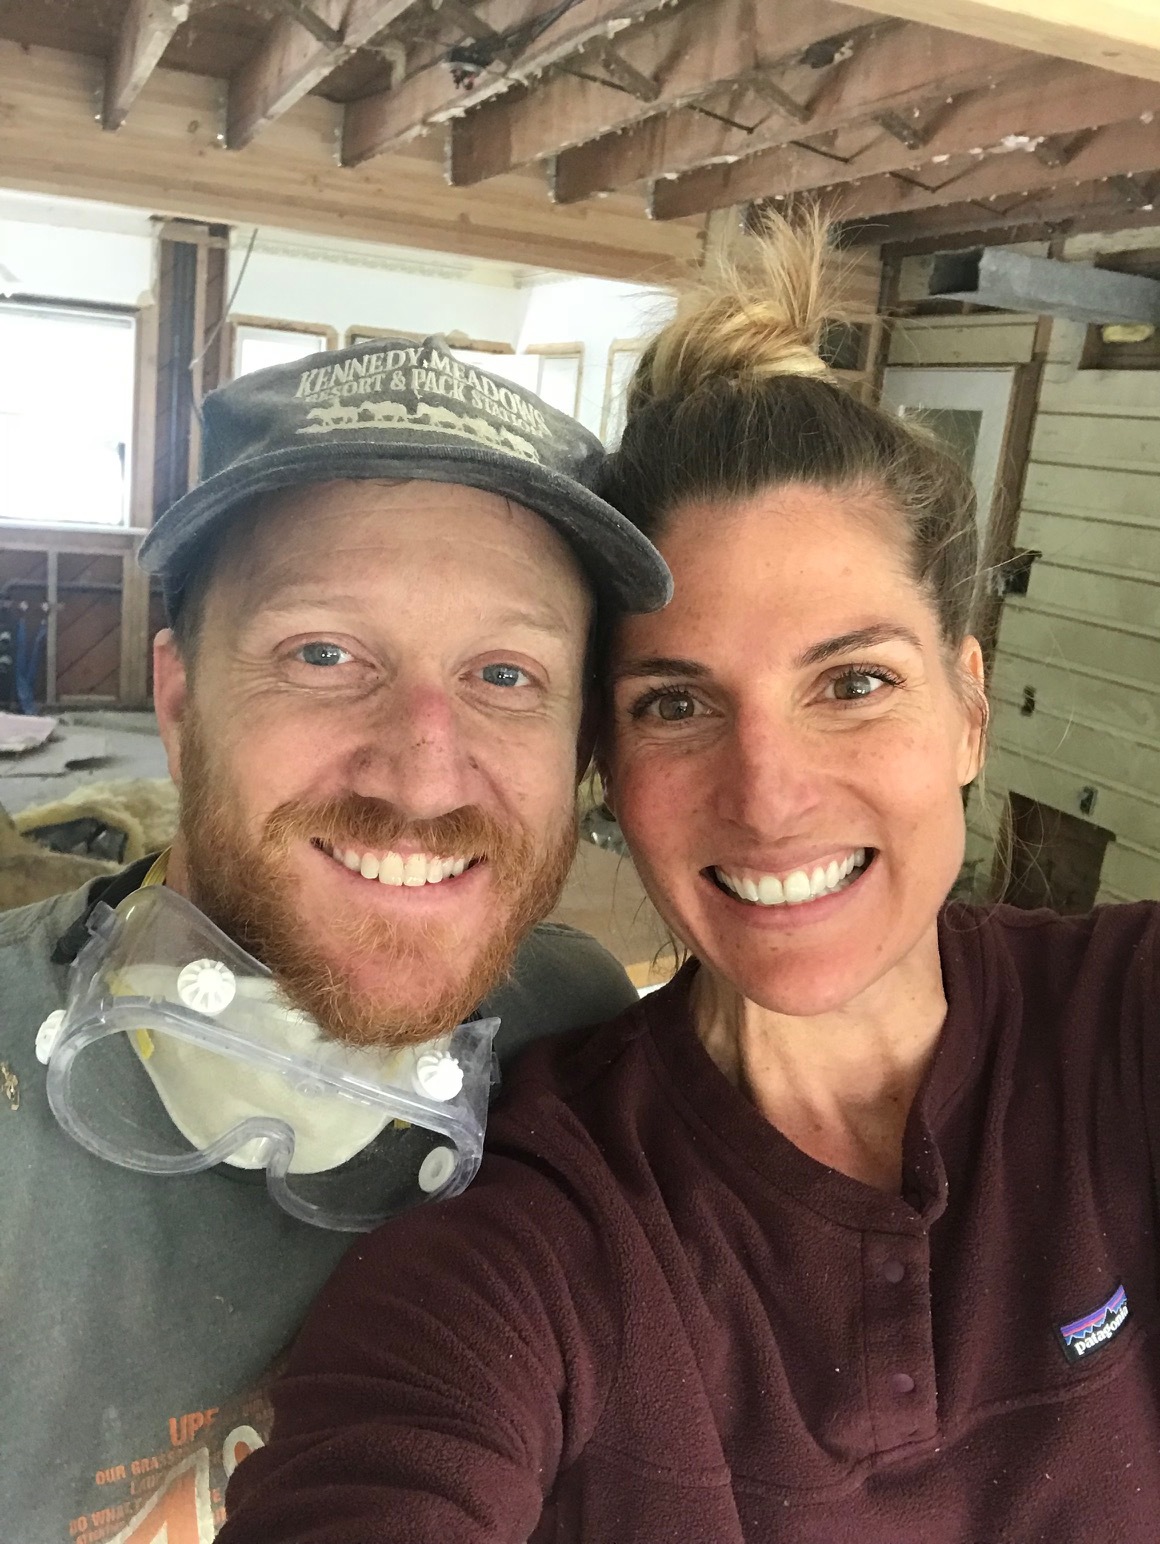
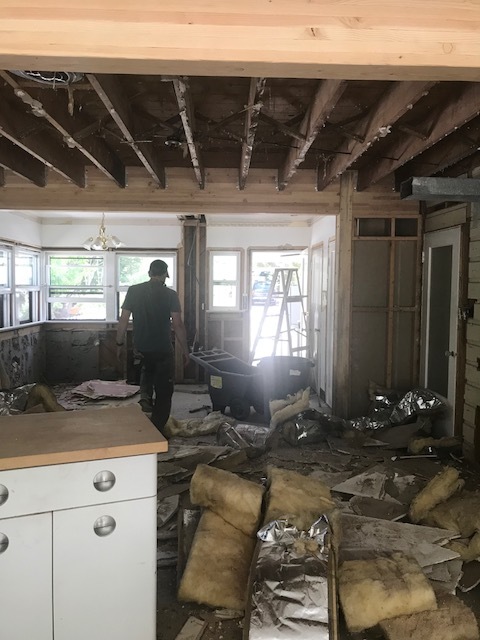
I'm just going to say it... the photos above raise my blood pressure a bit! We had fun, though. It was exhausting and exhilerating at the same time!


This wall was originally a built-in pantry and where the fridge was located. Because we were using the pantries in the laundry room, we didn't need them. It was the only place where I could put a gas range without spending the entire budget on moving a gas line. It makes the "cooking triangle" a little bit more stretched out than I'd hoped, but it works. Having an island between the range and sink help a lot as well. I researched several brands of ranges and ultimately chose the AGA Elise Dual Fuel Range. Some of the comparative brands offered a grill plate on the top, rather than larger burners, and I knew we'd rarely use the grill pan in comparison to needing the space for larger pots and pans. I have no regrets. This stove is a workhorse! We have been using it non-stop since purchasing it and have all grown in our culinary skills! It really is the perfect marriage of simple yet offers many functions. The grill drawer is used daily for broiling toast or grilling veggies. I can't recommend it enough!

The second post above was another wall. Here, there was a narrow doorway into the dining room. The kitchen technically only had one window above the sink, and since the kitchen is the heart of our home, I knew I would struggle with having so little natural light. We decided to take the entire wall down, which of, or course, required another engineered post and header to bare the weight of the roofline and upstairs. All kitchen and dining hardware is from Top Knobs and I chose a variety of styles all in the finish "German Bronze".

Above is the before shot of the built-in pantry and fridge. That's the wall that the range is now against and we have removed the doorway and wall to the right completely.

I added a little broom closet to the left of the fridge last minute. Because we didn't know what structural changes we were going to have to deal with, I had literally a week to make a plan and start executing. A week is very short to make a ton of decisions! I'm glad I was able to sneak in this little closet because we use it daily!


This is the opposite view of the kitchen. I wrestled back and forth with having oak cabinetry, I really wanted oak but this portion of the kitchen (between the two headers) gets the least amount of natural light and I knew I'd have to keep things bright in order to maintain a cheery space. Plus, cost was an issue. I ultimately decided to go with a standard shaker cabinet from a local cabinet maker. I was very pleased with his work and the cost was close to what we'd pay for boxes from a store!
I also struggled with choosing the right color as I didn't want just another white kitchen. I had about thirty swatches of greys and greiges and everything in between. In the end, I knew my senses could not handle color, so I went safe. I chose Swiss Coffee through Benjamin Moore for all of the cabinets and trim and used Simply White for the walls. It is so soothing within this space! And after having added the butcher block on the island, that created enough contrast for me.
I am still undecided on backsplash and may just stay that way for a while. Originally I was going to do V-groove boards, but last minute I decided against it and am just going to let the kitchen decide for me over time. So now we have a rail all the way around the kitchen, without a shelf or V-groove board underneath. :)
Sconces above the sink are Amazon! I think they were $13 each. For the sink, I wanted something a little bit different from just your standard farm sink, so I chose the Highpoint Collection Double Lip Sink from Overstock and mounted it above the countertop for some variation in dimension. Since the appliances are integrated, I needed a little bit of dimension. Speaking of appliances... we went with the Fisher & Paykel Integrated French Door fridge and freezer. I really wanted the integrated look but spending $8k was not an option. This was the only brand I found that offered an affordable model. It took a little while for my cabinet maker to figure out the paneling, but aside from that, it has been a great addition. For the dishwasher, we chose Fisher & Paykel Double Dish Drawer dishwasher as it fits our family perfectly. We don't have more than one set of dishes, so we often hand wash after each meal. Once I learned we were wasting more water handwashing than a single load would use in one of the drawers, I was sold. :) This has been an amazing addition to our kitchen and I have a clean sink constantly because of its ease and efficiency. Win! We went through Monark Home to get the appliances because I heard their customer service was brilliant and it was! The installers were very professional and even came back the next day when I couldn't figure out the buttons (there are only like four or five, so this was embarrassing)!

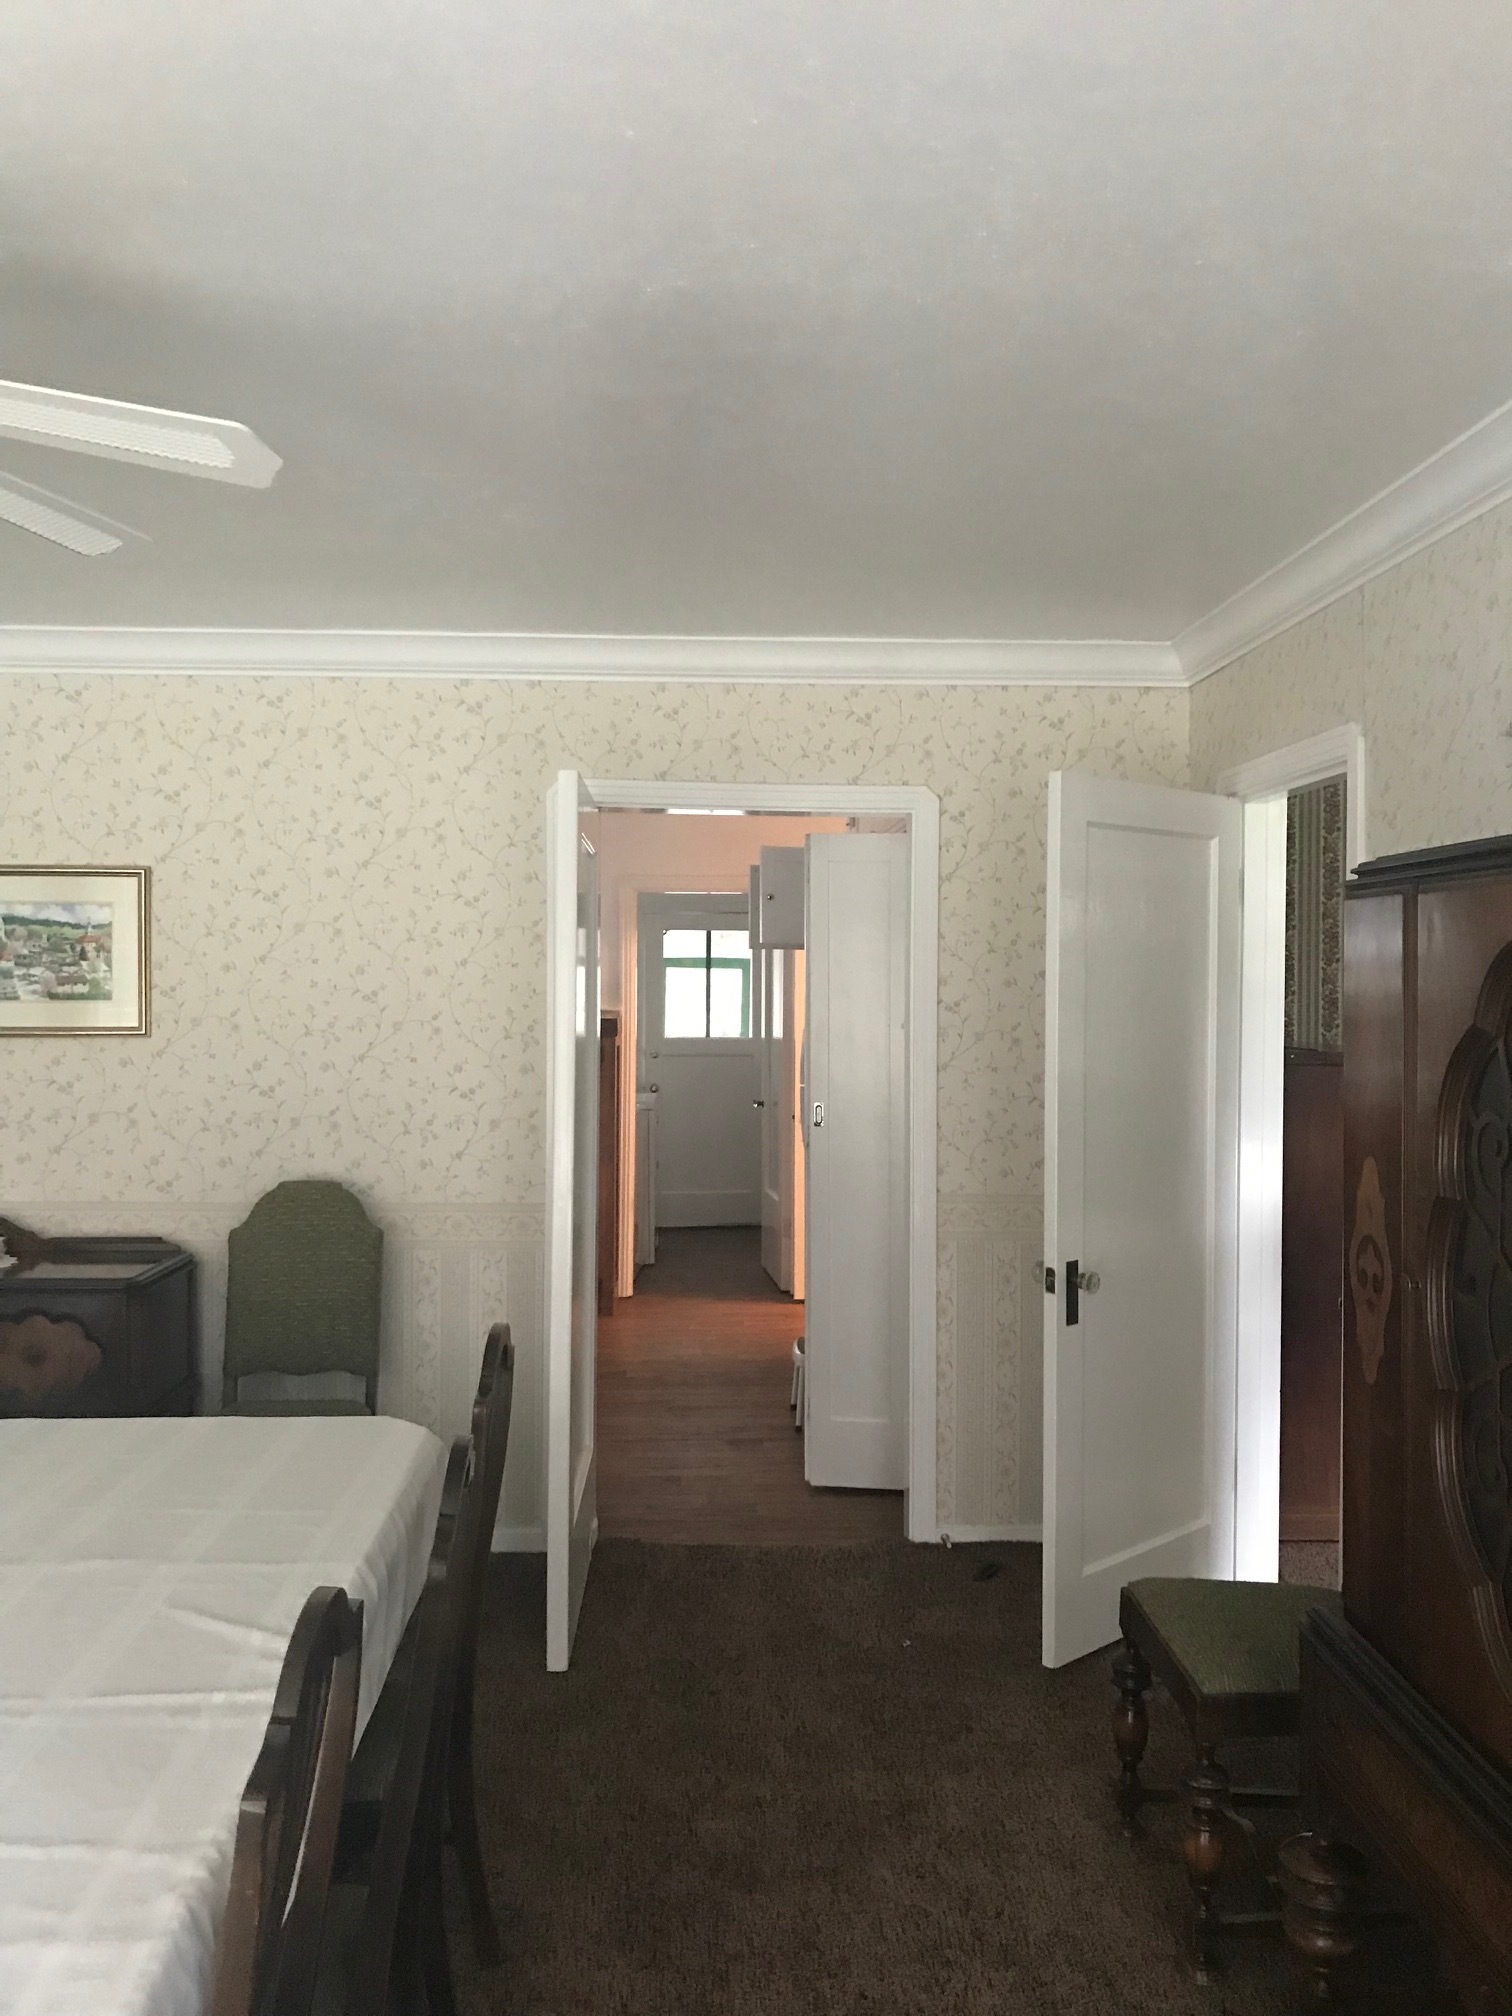
Above is the before of this side of the kitchen...again, the left wall was taken down and replaced by a post & header. The original kitchen itself was charming and true to the style of the farmhouse, but I wanted the liiiiiight! A big renovation for a little bit of natural light!


I battled back and forth with going with marble again or choosing something more durable. Because this move was about hospitality for us, we really wanted everything to cater towards durability and having a home that could handle masses of people and the wear and tear of children. Ultimately, I decided to go with Caesarstone quartz. I read up on the durability of the product and was delighted with the idea that a guest or a husband, for that matter, could simply cut a lemon on the countertop and there would be no etching.

I ended up choosing "Cloudburst Concrete" because it just felt soothing. Jeff over at Sierra Stone, a local company fabricated them and installed them. I was so glad I chose him as he has a top-of-the-line equipment, which made cutting the detailed grooves around the posts very easy. He did a beautiful job and was so professional to work with. He even let Carter and I watch the fabrication process, which was fascinating and we both learned a lot!


Here's a full view of the kitchen side of the room. The island was a Mother's Day gift (along with a full day of demolition!). I had found it on Craigslist and it was actually a shop table with drawers. It was green and I sanded it down about four different times. Ideally, I'd like an oak island a little longer and skinnier with seating all on one side (the other side of the island looks exactly the same and has two stools as well), but cost-wise, this was the smartest thing for us to do. We bought butcher block from Lumber Liquidators and our friend Bobby helped glue it and add an oak trim around the perimeter. I've never had an island in any home we've ever owned, and I am finding out that it truly is the place where people hang out!
For flooring, this room and the twins' room are the only two spaces that didn't have original wood floors. This room had a slab and because of previous flooring disasters on slab, I opted, yet again, for something durable. After a ton of research, I went with Coretec Vinyl Planks in Calypso Oak. These have a cork underlay, which helps with sound, softness, and temperature, but are 100% waterproof and will not expand or contract. I am very happy with them and anyone who walks in the kitchen immediately asks, "Are these white oak floors?" So I think they've done a great job an
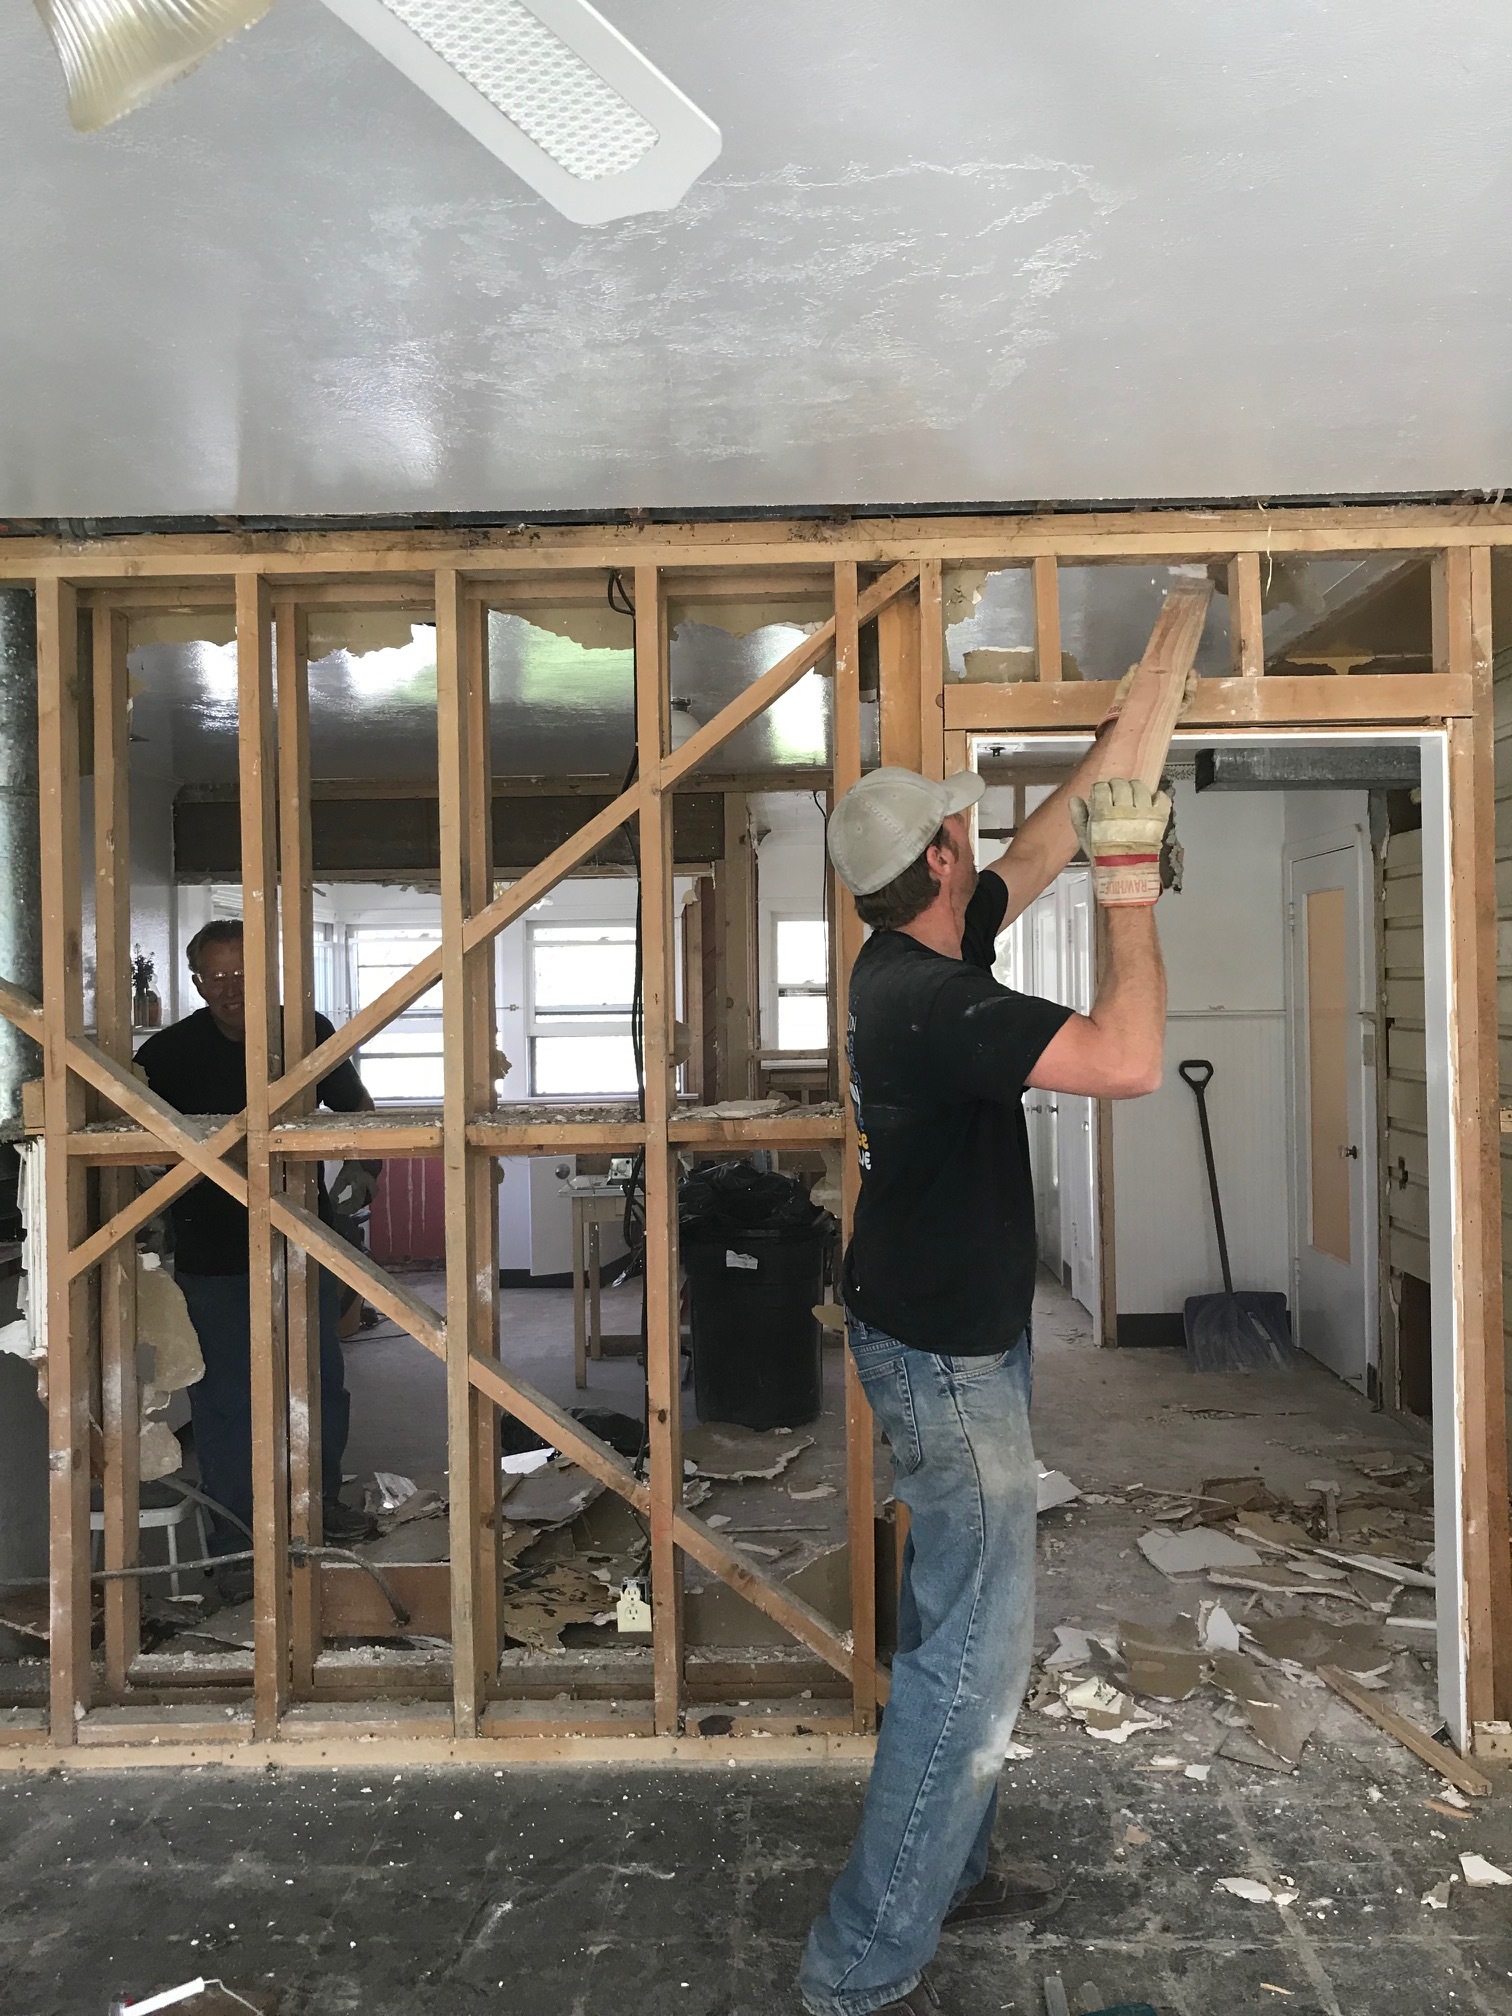


The middle image is of the wall that was removed, you can see all the way back through the laundry room. The left image is of my very strong brother and step dad that came and helped us from time to time. The right image is of the headers being put in and an open space at once!

Now for the other side of the room! This is the view from our living area into the kitchen/ dining. Walls in the living area are "Classic Gray" from Benjamin Moore. I had to drive a few hours for the V-groove paneling from Trimac Panel. It's hard to come by! Ideally, I would have love to do wood planks, but again, cost was an issue, so the paneling worked out great. Plus, it was so easy to hang and paint!

The dining/ school space! This home is much larger than our last, and there are a few options for a school room, but to be honest, I miss hanging out around the table working together. When I saw these windows and the beautiful view outside of them, I just knew that we would make this space work. We were originally going to leave the joists exposed, however, the noise of upstairs was just too much. Also, it was very rustic and the whole house is so classic, adding a rustic and industrial vibe felt awkward. So, alas, a very drywalled room. :)
The furniture piece to the left came with the house, it was just in the living room (before pict below). I knew it would make for a great homeschool cabinet as it is massive. I had our cabinet maker add doors on the top to conceal some of the mess, we caulked the heck out of it, and then painted it the same color as the cabinets (Swiss Coffee) so that it would be cohesive with the kitchen.


We added a small little window to the right of the cabinet. The big windows are original so they do not open and we needed air flow from the front of the house to the back. I found the window at Restore and had a friend install it in exchange for a family photo session. You get desperate in times like these and your survival mode comes out. ;)


The table is custom built by a friend's dad (support your local furniture maker!!). We needed a larger table for the space and after eyeing an Ikea table, I just couldn't spend that amount on a piece of veneer. Anyway, he was able to build the table and bench for nearly the same cost as the Ikea table and bench I was looking at, except it's in oak like my prep table. :) I had been searching for months for the right chairs. I wanted something mid century, but it couldn't be too modern as the house just can't carry that style, so I found these on Craigslist and it was a small little miracle we were able to get them first. Carter and I drove 2.5 hrs each way to get them, but I am so pleased we did.

Hanging pendants are from Lamps Plus.

Jason's one and only opinion/ suggestion for this entire project was to add a door to the garage for entry. Since we moved our laundry to the garage, this was a very wise decision. He is such a good man. Can you believe he only had one opinion this entire time? He basically gave me the money and followed my timeline and requests and just did whatever he was assigned to do--even if that meant creating a tent in a newly painted kitchen to trench through concrete. When everything came together towards the end (cabinets, countertops, appliances), he walked in and said, "Oh, so this is our kitchen?! Ha. So good. I think that's why we were able to do this with minimal tears and tension. He is a very good man. Thanks, babe, for your amazing attitude!

The before picture. Guys, there were up to six layers of flooring underneath this carpet in places; I guess that's a given with the home's age (built in 1864), but man, so many layers!!


That's it, folks! I feel like I have sourced almost everything, but if you have any other questions, feel free to ask. Companies that are live linked have either donated or offered discounts for their products in exchange for an honest review. Thanks for following us on our crazy journey!