Well hello there! It has been a while…probably about three years, but who’s counting? The last time I posted, we had a kitchen reveal for our California farmhouse. Currently, we are residing in the Black Hills of South Dakota! A lot has happened between the last kitchen reveal and this one. Covid pretty much turned our lives upside down. Its economic effect was incredibly stretching for us, but in some of the best of ways.
We found ourselves at a crossroads that ultimately would determine where we set roots for our children and grandchildren. After a TON of prayer, research, and discussion, we ended up leaving everything we knew and loved so dearly for a different life for our family. We are grateful every single day that we made that decision, as difficult as it was and can be (especially on holidays!).
While I will not go into our reasons for why we moved, we had a spreadsheet that pretty much summed up our entire family culture and ideals, and we combed through multiple locations in order to meet such criteria. Once we zeroed in on the top two (Northern Idaho was a second choice), we started watching the market in both locations. One day, our current home popped up and we immediately fell in love. It was very “Mockabee” in every way. Basically it was kind of weird/ quirky, a fixer upper, had lots of natural light, and was in a beautiful setting. It went pending immediately and we were pretty bummed. Fast forward a few weeks later, and our realtor had called us informing us that it was back on the market!
Believe it or not, the market in South Dakota was just as hot as it was nationwide, so we knew we needed to move fast. We went as high as we possibly could, but still fell pretty short of the asking price, knowing full well that homes were going up to 20% above asking. But God! Our offer was accepted. The seller said it was because we had four boys and a girl, and the original owner/ builder had four boys and a girl and built the house just to accommodate that family dynamic. It was the sweetest!
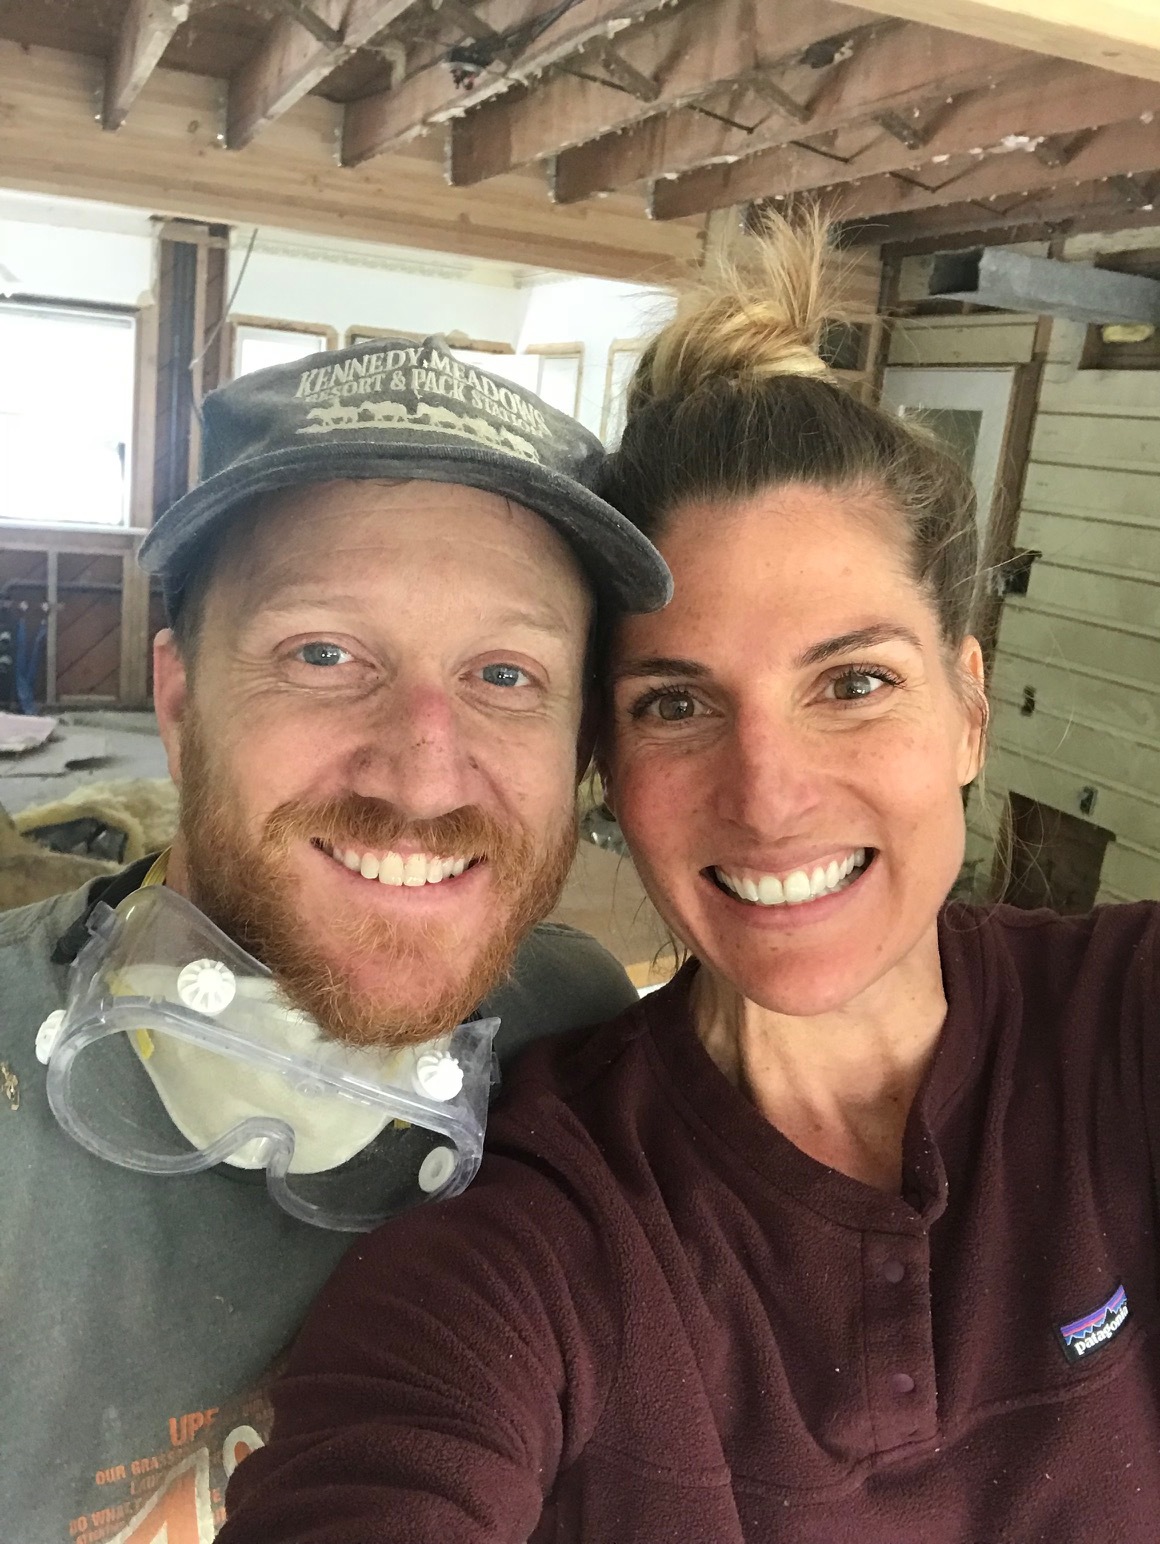
So here we are. Our goal was to wait at least a year to do any renovations, but as Jason watched supply chain issues become prevalent and building costs skyrocket, he pushed really hard to get the main things done. For once he was the one doing the pushing (and I didn’t care for it one bit). Now that it’s over, I am grateful that he did so. We just got rid of our last dump run and I cannot tell you how relieved it feels to have a lot of the major stuff done. I will try and post some before and afters on here at some point, but I have covered quite a bit on my Instagram stories, just visit the highlights “SD Kitchen” or “SD Kitchen Reno.”
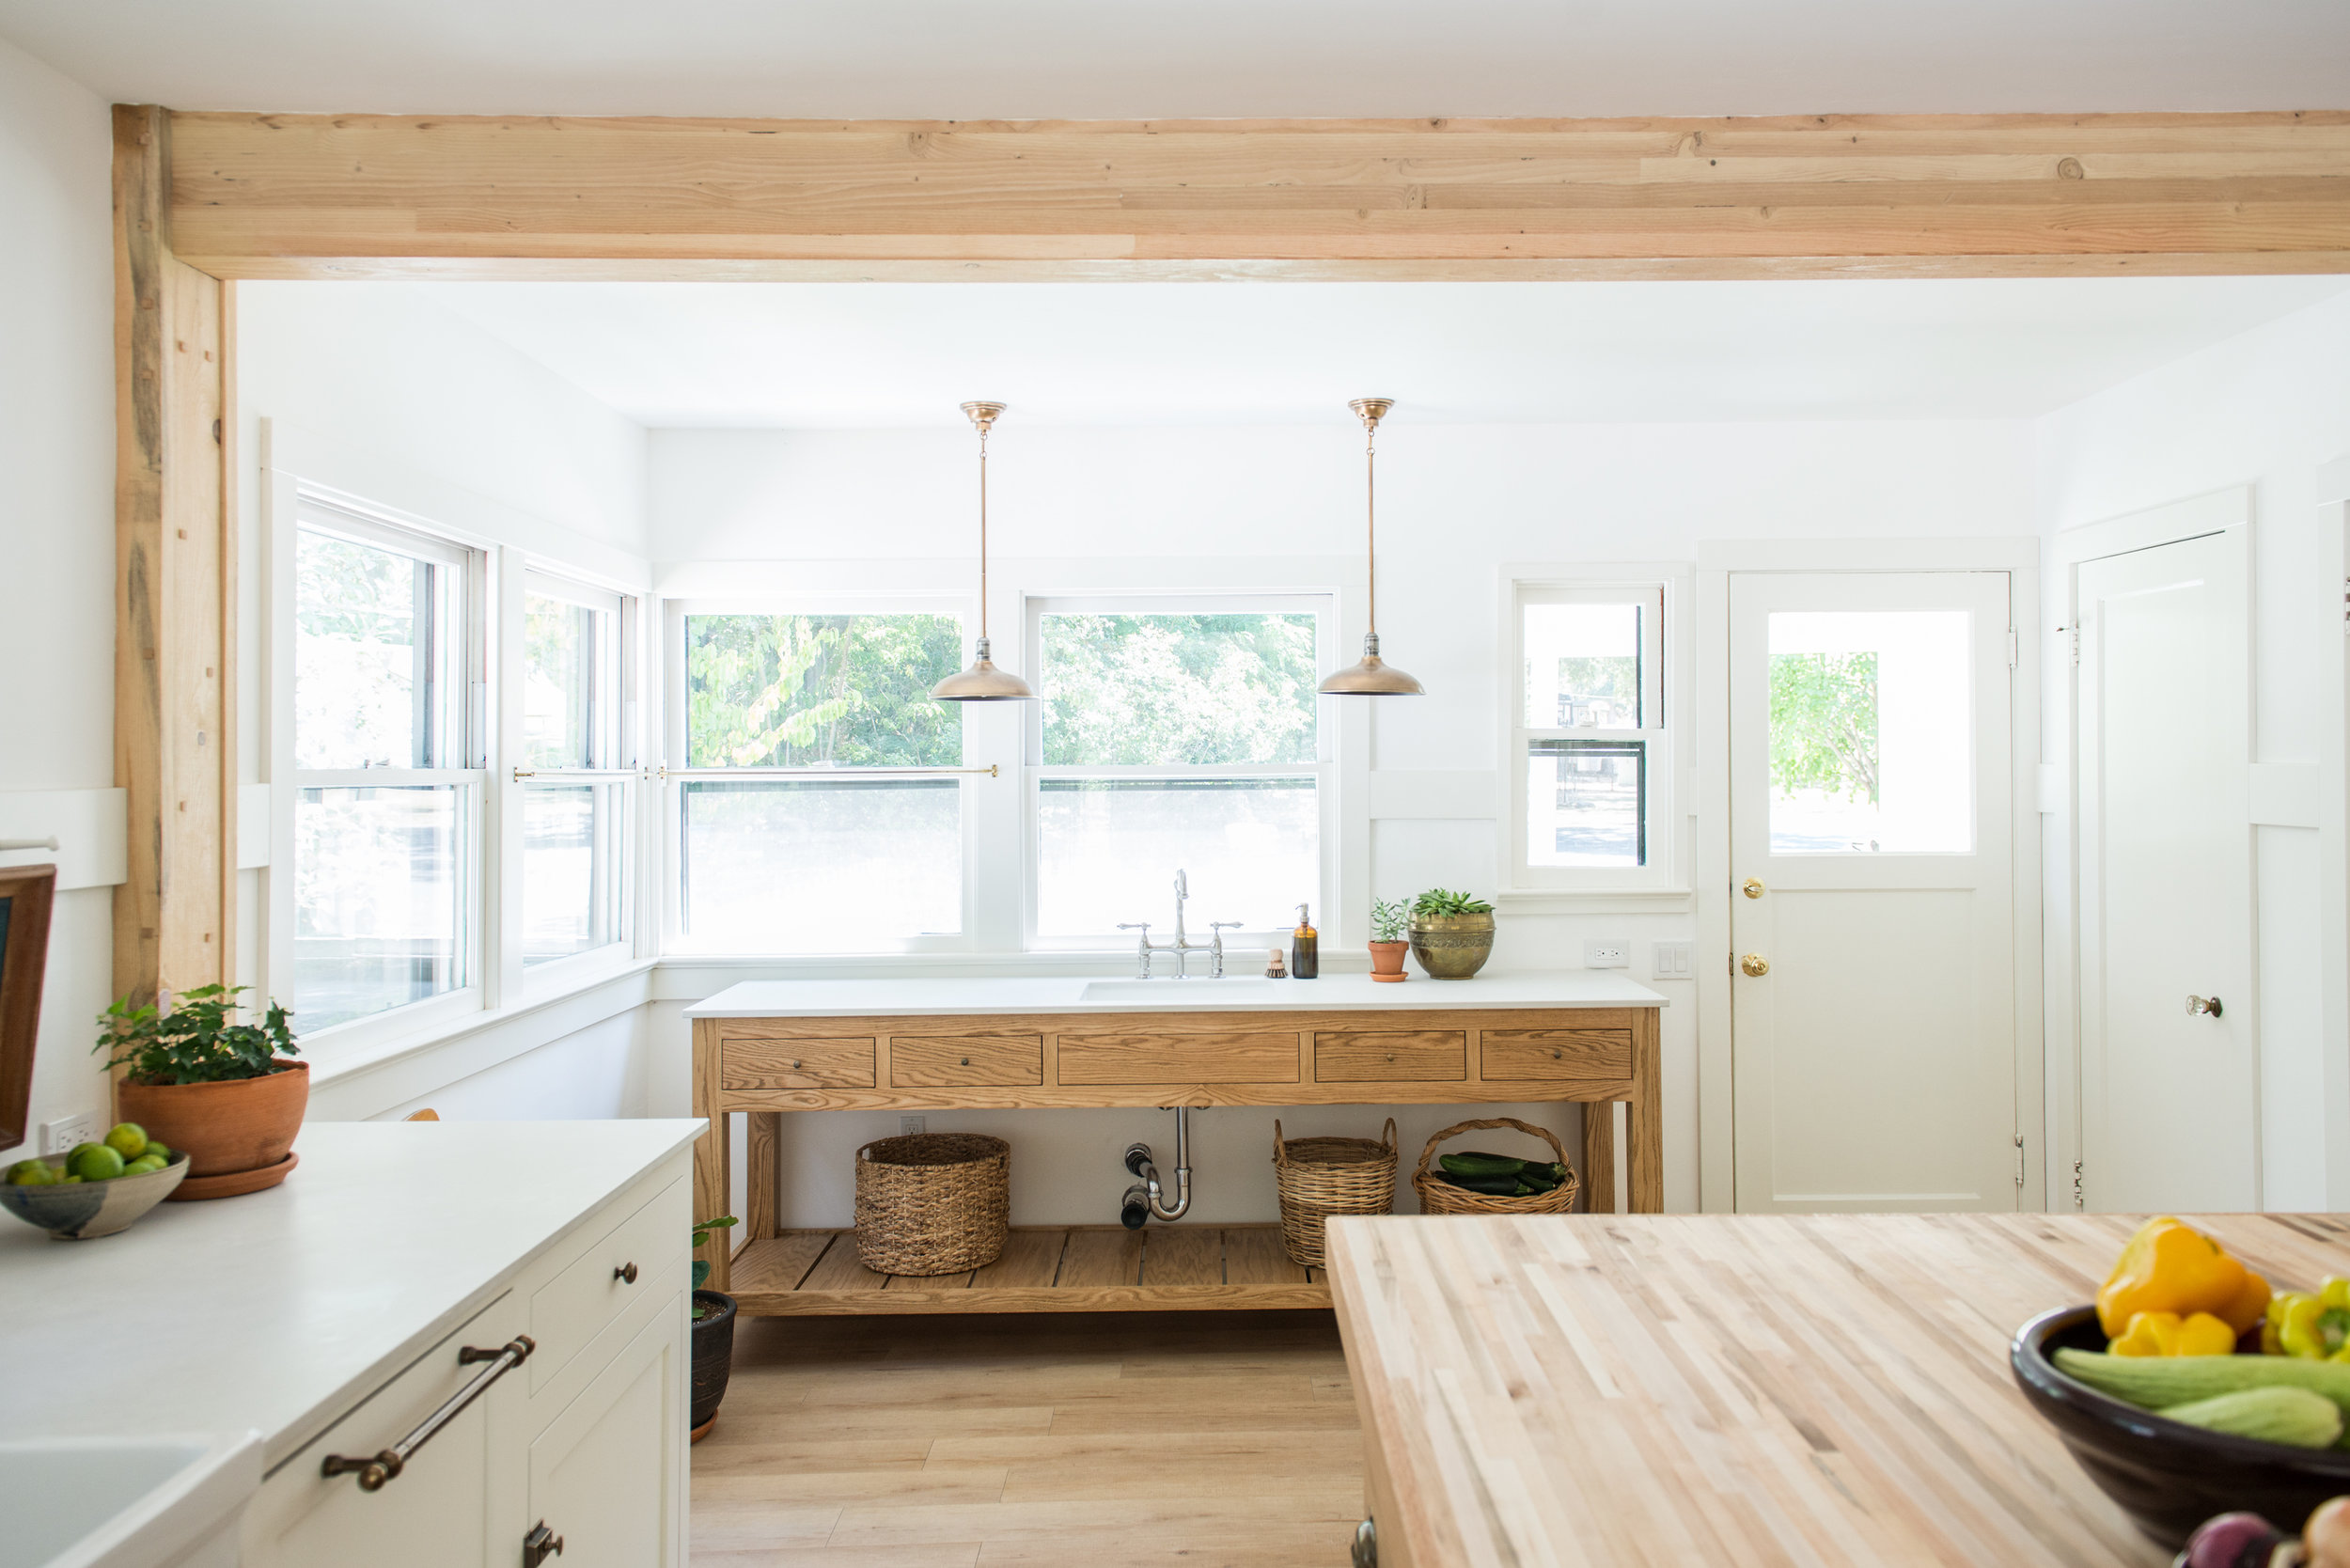
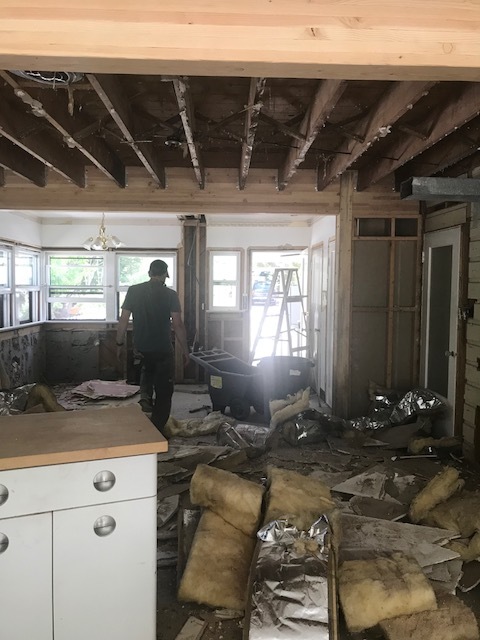
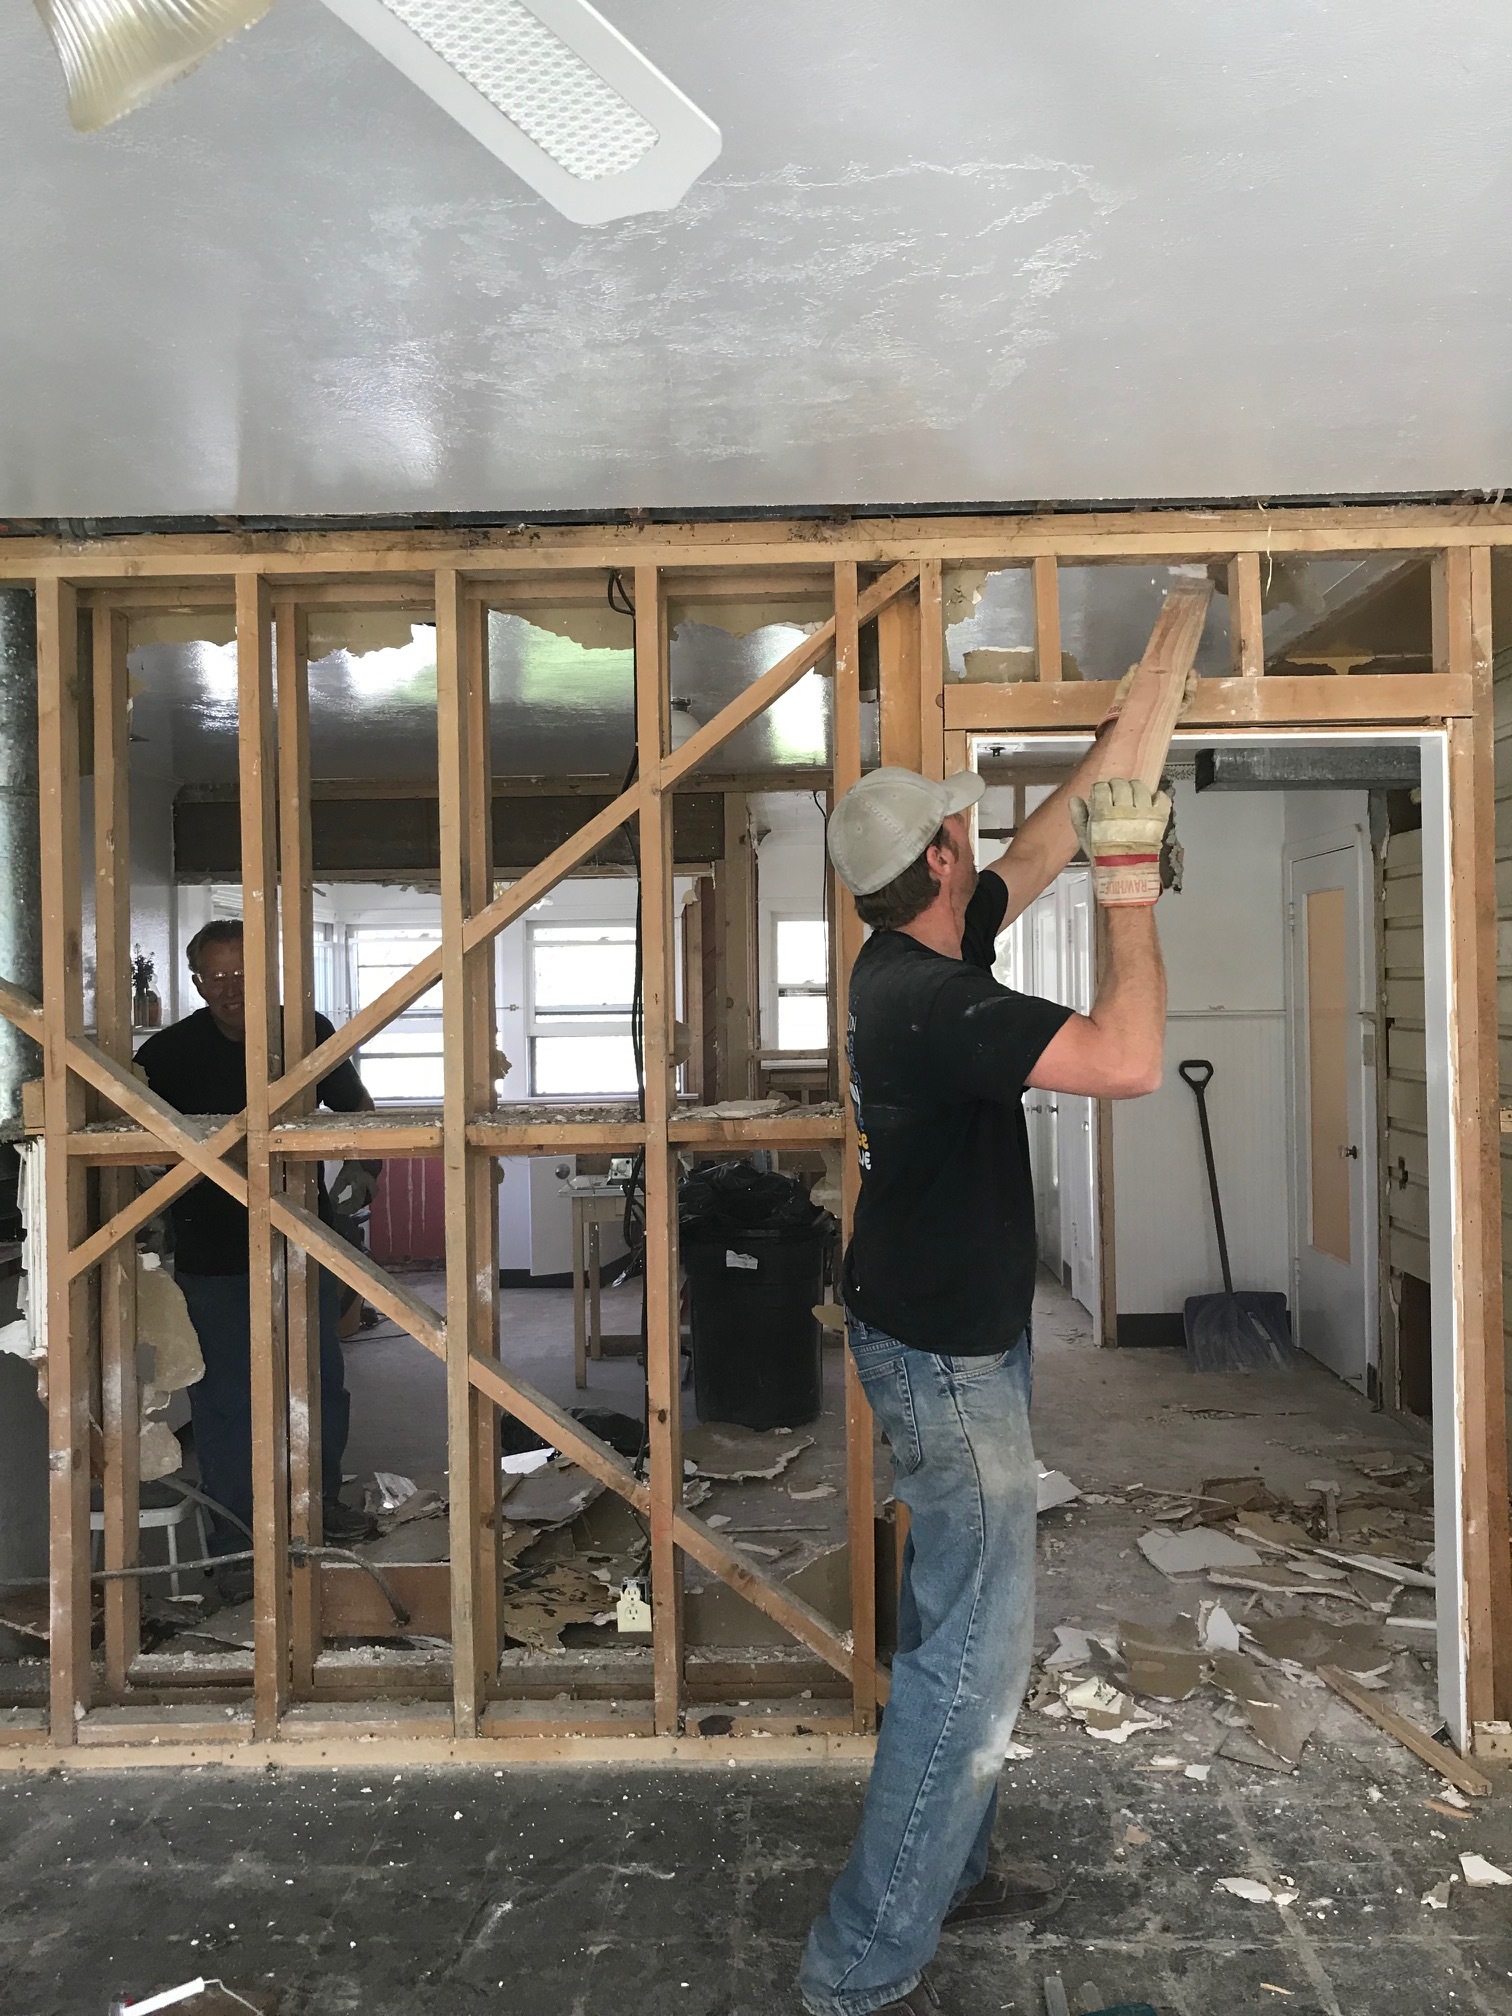
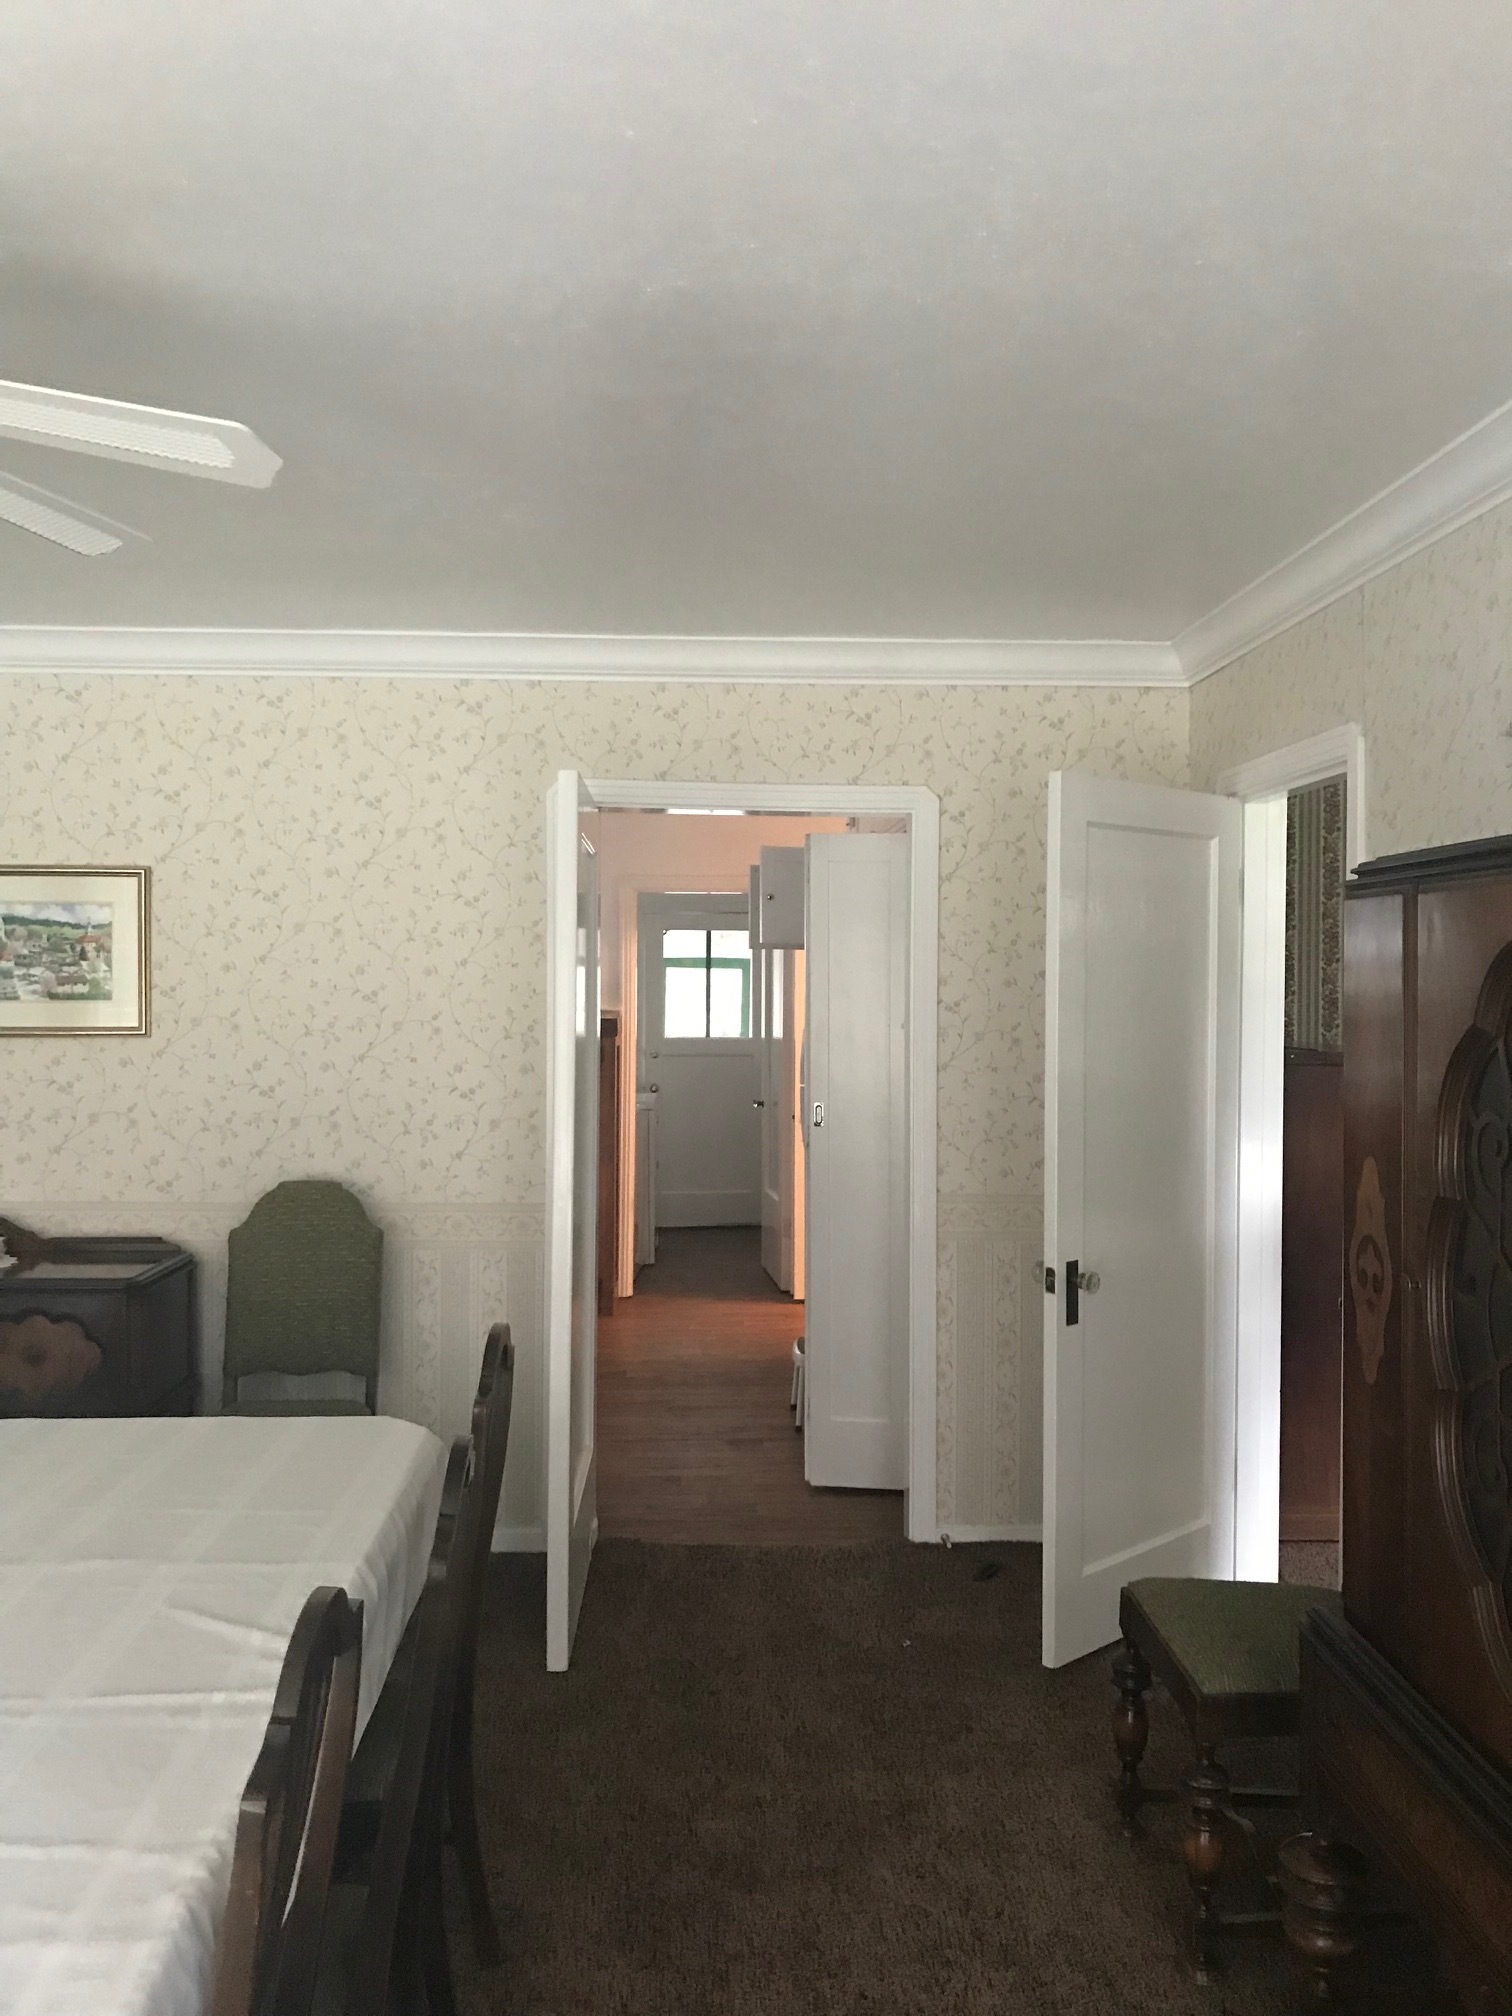
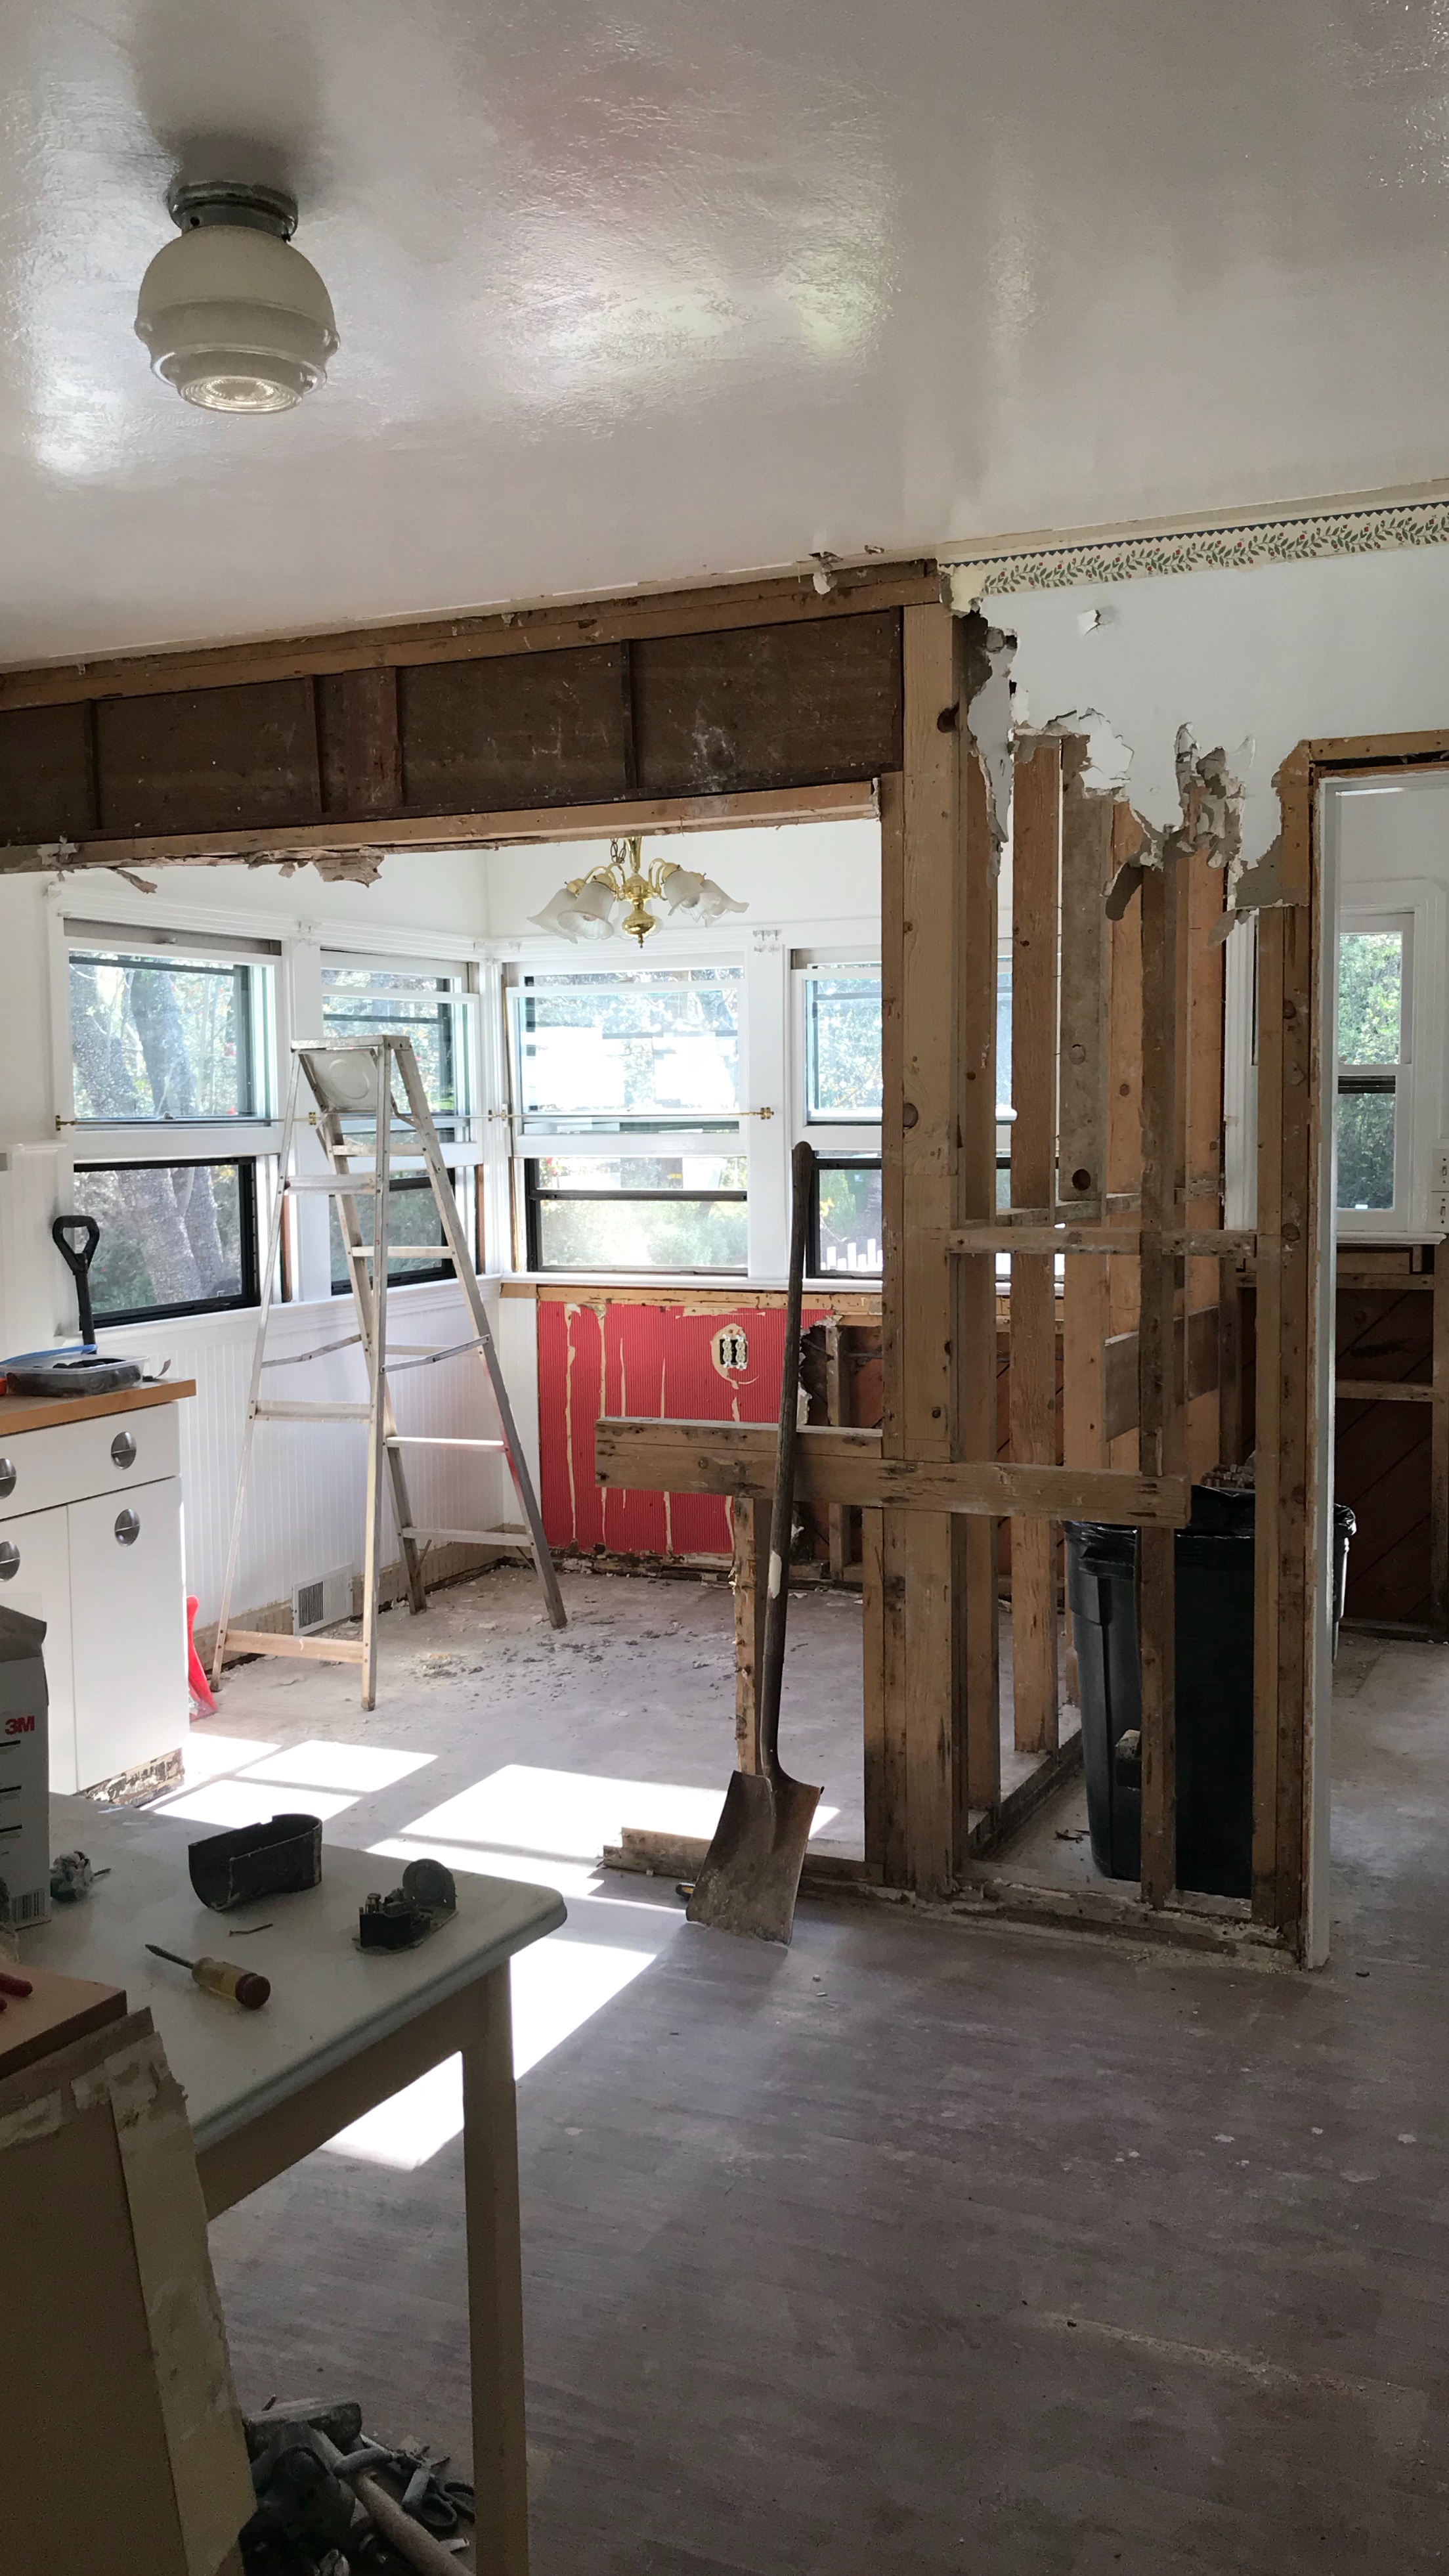
If you made it through that wordy preface, congratulations, and if you just skipped it to see pictures, welcome to the club (I still don’t understand why a novel is written on recipe websites, but here I am, taking part in what annoys me!). Below is a shot of the finished kitchen. I provided some befores and even a during shot just for kicks. It has come a long way!

There used to be a wall right where the header hangs. We were not able to bury the header, but we still opened it up in order to enjoy the spectacular views from the dining room. It also gives a little more flow to the main floor while keeping the kitchen its own space.
Same angle, entirely different kitchen!
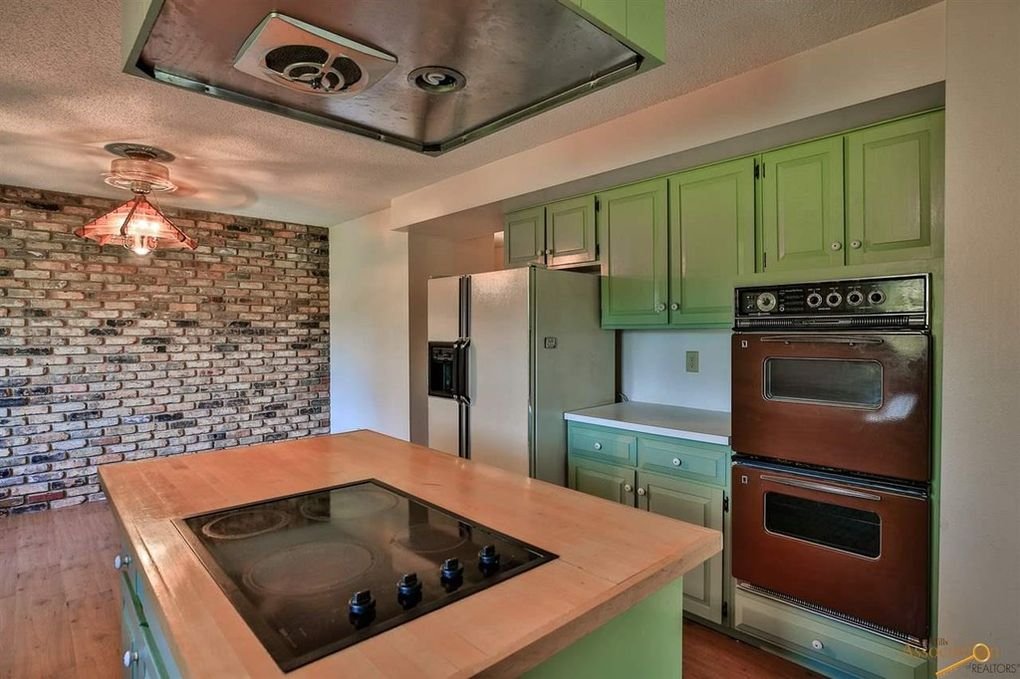
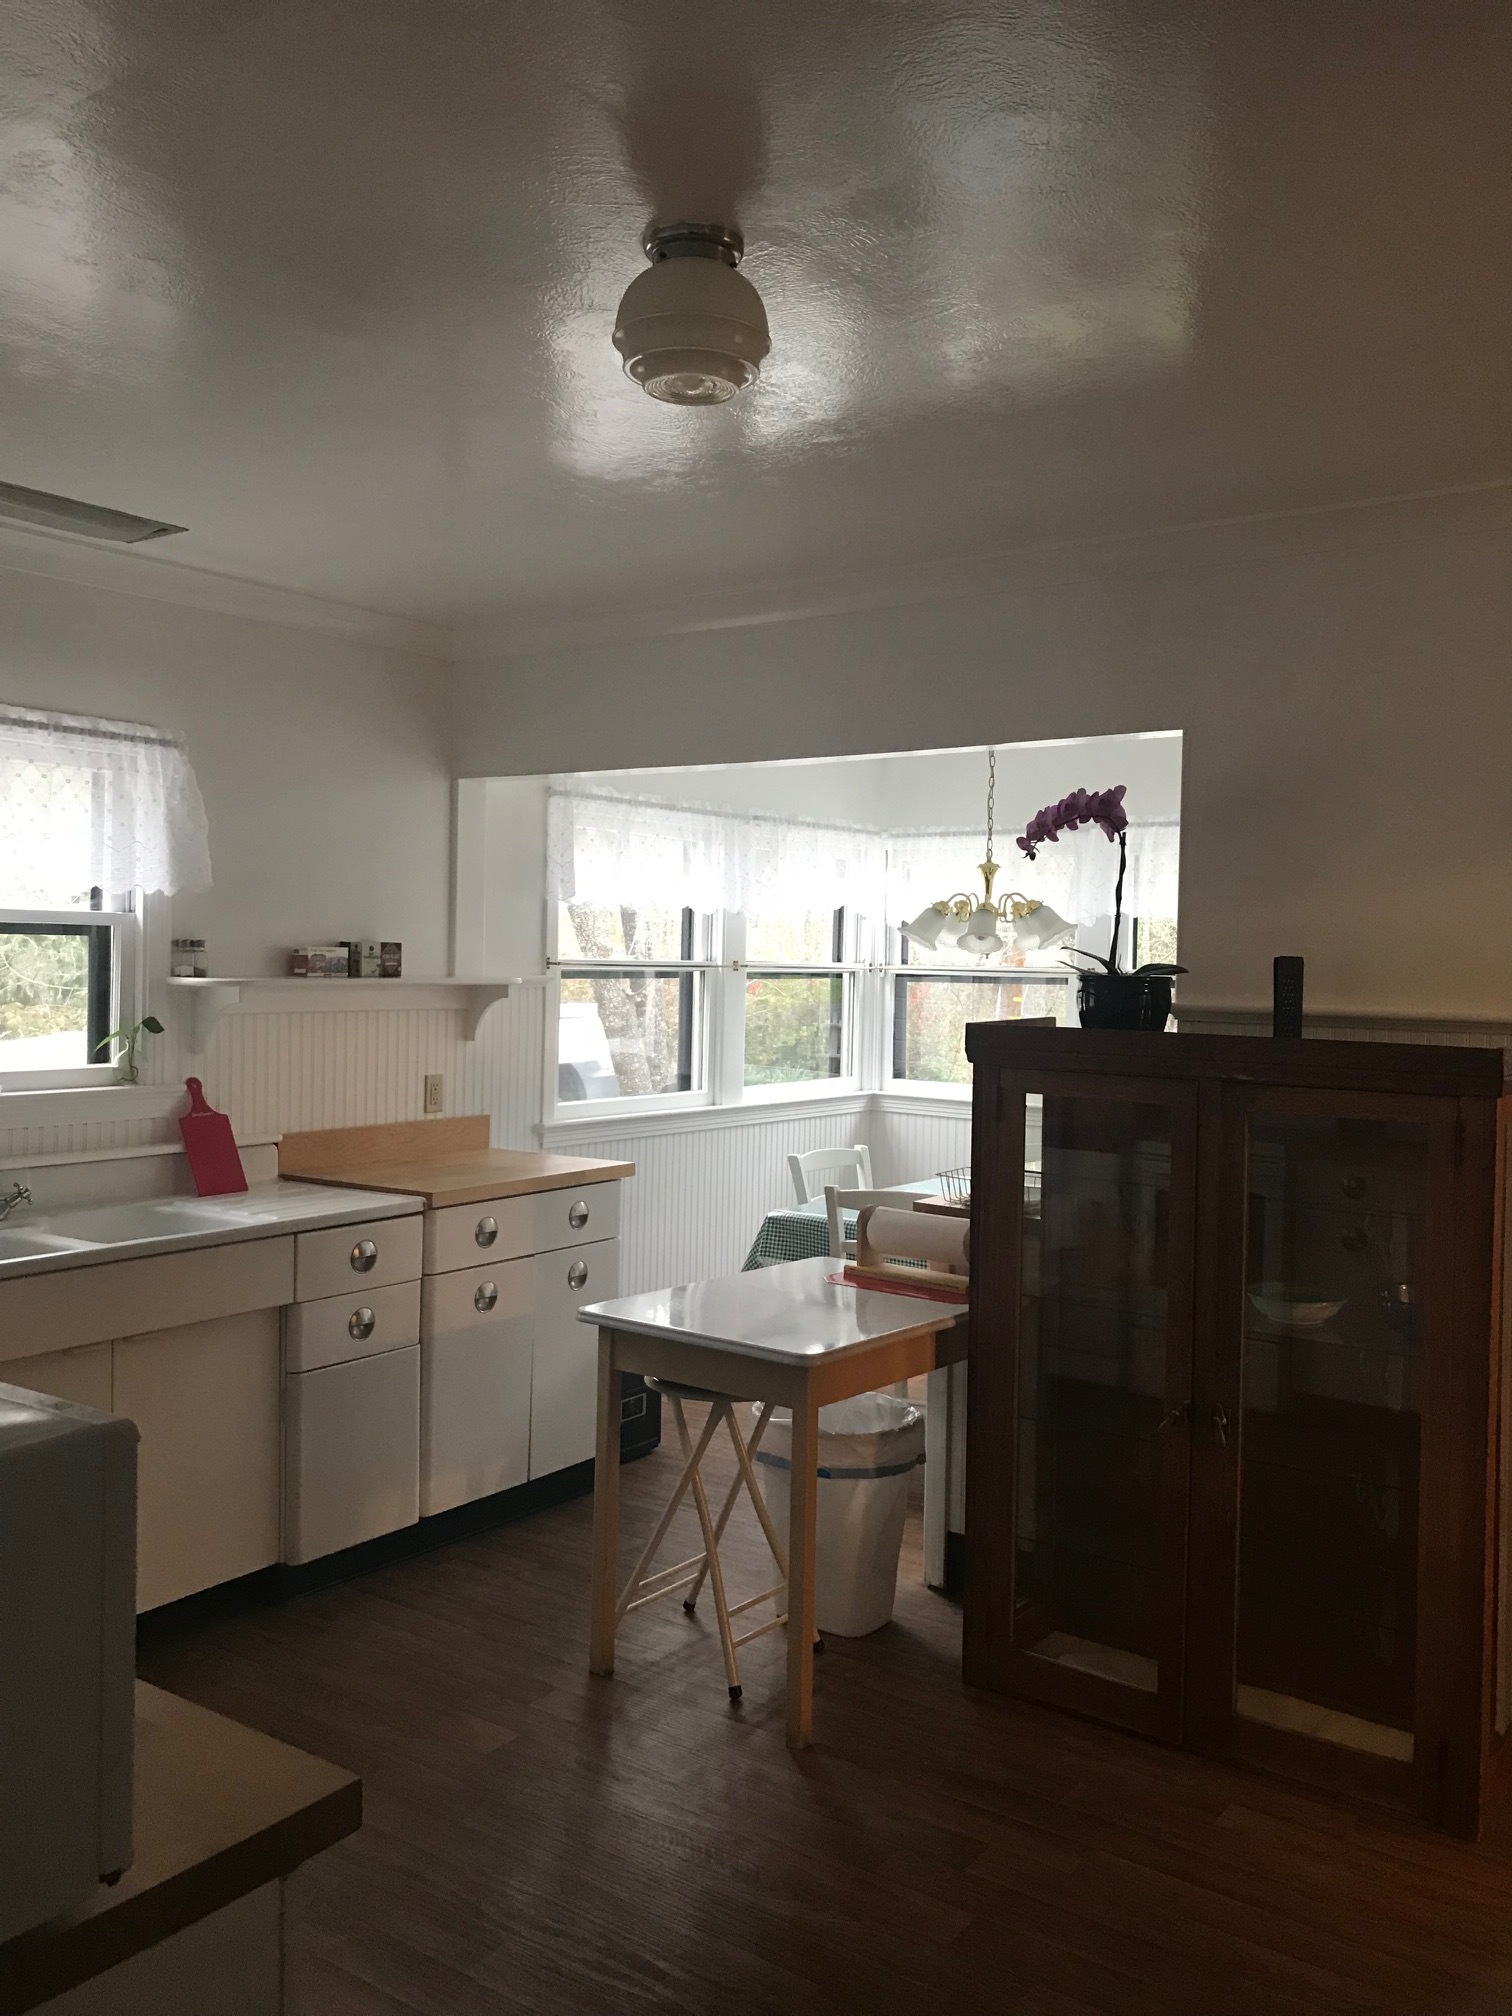
Just curious, do you like the glass fan, the popcorn ceiling, or the green cabinets best?


Jason had moved a few weeks later than we did, so I knew if I could just paint the cabinets, remove the uppers, put our little curio cabinet up, and remove the wall between the kitchen and dining room (before he came home), I’d be able to last a long time with the kitchen as seen above. I was actually VERY happy with this setup. So when Jason started pushing me to start the renovation, I threw a bit of a fit. He was so very wise, though, as we ordered appliances in March of 2021 and did not receive them until January of 2022. What a guy. I never regret listening to his counsel. :)
Now that you have an idea of the before and during setup, here a few left of the afters. I must give a disclaimer, my camera and gear have been retired as long as my photography career, so they are not performing in the way that they used to. I also haven’t done much practice, and this quick shoot was a bit apathetic on my end. Maybe one day I will time it so that the lighting is just right (not blaring bright sun), but to be honest, the kitchen has been done for a few weeks and it has been in full use ever since. The idea of photographing it while kids aren’t baking or making protein shakes, or washing dishes, or unloading dishes, sheesh, it’s overwhelming. You get the idea. This is most definitely the busiest room in the house. But I had the kitchen for a few minutes to myself this afternoon and I took advantage.

Here is the view from the (new) outdoor deck. The view from this side of the house is breathtaking. You can see several mountain ranges and a beautiful sunset, so to only have a tiny window above the sink (see before photos) and no access to outside seemed like not taking advantage of a free gift!

This kitchen was on a tight budget, as per usual, so there were some serious compromises (and mistakes) made. I priced this whole wall out for custom floor to ceiling windows and the estimate was more than a third of our entire kitchen budget, so that was an immediate no. I ended up finding a used Pela window on Marketplace as well as a used Andersen french patio door set, together for under $1000. Even with the addition of the bbq/bonfire deck, we were able to work it into the kitchen budget. We moved plumbing to the center of the space and brought in propane for a dual fuel range.

I get questions about the brick a lot and if it has ended up being a mess with cooking. We haven’t experienced any issues yet. The range was the first appliance to arrive, so we have been baking and cooking with it since about September, and we bake and cook a lot! We did paint the bricks with a flat paint, so touch up would be easy if needed. We just haven’t had to touch up anything yet.

Organizing drawers and making things that would otherwise go unnoticed beautiful has been a really fun process. (Jars are from Target’s dollar section)
Since Jason was so gung ho on executing a kitchen budget and ordering main ticket items, I had to choose my appliances BEFORE I even had a kitchen plan. This was very very difficult to do, so I picked the same exact range as I did in the farmhouse because I loved it so much. It was everything I could hope for in a range, and I am so glad I stuck with it, even when my thoughts were all over the place after clicking the confirm button!
We went with an entire AGA appliance package which included the dishwasher and fridge/freezer as well. All are coated with enamel and are very high quality. I was very nervous about the fridge sticking out from an otherwise streamlined wall of pantry cabinets. I wanted to go integrated, but the only fridge within our budget that was integrated had minimal capacity. I really wanted this kitchen to be a workhorse, knowing we were about to walk into a season of having five teens, who are all very active athletes as well. So, I went with higher interior capacity, but the compromise was having it stick out a few inches from the cabinetry.
I will say that the enamel appliances, paired with the ivory color, do not show any fingerprints, scuffs, bangs, dings, or even drips. Our kitchen gets a lot of natural light and this was a concern when I was originally thinking of going black. I am very pleased with the durability and the practicality of these appliances. I didn’t even wipe them down before I took these pictures. I am sure there are egg white drippings and ketchup fingerprints throughout.
Let it be noted that nothing in this kitchen is sponsored and I chose not to partner with any brands because I did not want this to be a high pressured process nor did I want to be on a deadline. Any feedback is completely honest and not motivated by any kind of partnership (just in case you were wondering).

You can see how the fridge sticks out about 3” from the cabinetry. The cabinet design was meant for it to be a tight fit, so at least it looked custom, even though it’s not integrated.
Let’s talk cabinets. Phew. This was a doozy. We had five different cabinet makers estimate the job. I was very specific in my design and most of them had never built something like my drawings showed. Overall, I wanted the cabinets to look mid century, but also very rustic and minimal with a side of homemade country. That’s a weird combination, I know. We had a varied range of estimates. Most being close to the entire kitchen budget. This was scary to witness! I was trying to figure out how to design something differently when this sweet couple from a nearby small town came over to check out the project. Their estimate was significantly lower than others. Alarmingly low. But it was all we could afford. They had never built a kitchen like this and were willing to take the project on. By the final install, they were very delighted to be over. I am sure of that. It was much more than they imagined, more detail, more cost, more effort, more everything. They were the sweetest, though, and were committed to the project even though there were lots of bumps along the way. Thankfully they had convinced us to buy all of the wood early on (even though we didn’t plan to start the kitchen for months later) as they were witnessing lumber prices jump significantly. We are so grateful they asked us to do that, because white oak jumped up 30% right after!
Another place where we cut corners was the countertops. We were referred to a “cheap” fabricator in Denver, with the disclaimer, “Don’t expect perfection or even for it to be finished, but the price is right.” Well, the price was definitely right. But we knew going into it that there could potentially be issues and there were. The cuts were wrong and there was no changing that. :) We were able to adapt the island to fit (they cut the piece too narrow!) and the other countertops are just a few extra inches deeper…more counter space, right?
Anytime that I fretted over the mishaps, I had to remind myself that a kitchen of this caliber would not have happened had we made different choices. I also am aware that kids ruin everything, so I didn’t want to be uptight about things that weren’t perfect, knowing eventually that they would be dented, stained, broken, etc. So it seemed a good compromise!

There are three sets of these massive pantries. They have pull out drawers and I asked for ample space between drawers as I wanted a lot of room for appliances and bulk items. My Instapot fits perfectly in them as well as my mixer and other appliances. The drawers below all have specific purposes, and I was even able to have a sourdough drawer, which holds all of my pottery and tools specifically for my sourdough making. :)


And this is why we bought the house! The views are pretty difficult to capture on camera, but it has been the most restful, peaceful place to live. We are so grateful. Every day! We have yet to finish the deck, I am hoping to put a cable rail system on both decks, but they are very costly, so we will patiently wait (this deck steps down to a larger deck on the right, nestled in the large pine trees).
Let’s talk sinks. I had a farm sink at the farmhouse and I absolutely hated it. I am very rough with just about everything. I move quickly and am not cautious, so having a large, porcelain sink right where I fling pans, bowls, and glasses, was not ideal. I broke a lot of my favorite pottery pieces on that farmhouse sink. I knew in doing this reno, I would want a stainless steel undermount. They are quiet, indestructible, and can hold about three bathing toddlers (I know because I used to bathe my younger three in one!). The newer ones now have this nifty little shelf that hosts cutting boards, strainers, and a dish rack. It’s really quite a product! I didn’t think I’d use all the gadgets, but it does come in handy when you have several kids chopping and dicing. Just throw the cutting board on the sink and you have some extra counter space. It’s hard to understand the scale of the island based on images, but this sink is 36” wide and the island is 4’ x 10’ (in case you are planning out your own kitchen!).

I switched up my original plan for the hood when I started realizing how much wood was in the kitchen. There was going to be a white oak hood box with v grooves and matching open shelving, but I wanted to mix up shape and texture a bit, so last minute I had my contractor build the angled hood box and I covered it with limewash for added texture. I kept the shelves white to kind of blend in with the brick and have less contrast. I am still unsure about that decision, but for now I am happy. :) The Schoolhouse sconces, albeit pricey, helped add a different shape as well, and I have actually had my eyes on these for years. I just love them so much!
The island light was built by our contractor as well. I really wanted a linear suspension light, but the ceilings are too low to pull that off and I did not like the idea of my view of both mountains and children being obstructed. So I had him build a linear take on the eighties light box. Ha! I had him wrap it with brushed brass, and although it’s a bit quirky, I actually love it. It breaks up all the plain sheetrock and gives the linear vibe while also giving a nod to all of those fluorescent light boxes that don most eighties’ homes.
That little hallway leads to our laundry room/ broom closet/ ferment & sprouting space. Eventually that will be a fun project as I plan on mixing the floor up with tile and potentially adding some color, or maybe not. Regardless, I am very content to wait…until I’m not. ;)

Overall, we are so pleased with the way things turned out and grateful for the help we were able to get in executing the project. We were able to hire a contractor this time to do some of the big things. He and his sons stayed at our place while we visited family in California. We came home to a completed shell of the kitchen. It was a complete luxury to miss all the sheetrock dust and mayhem!
The kitchen went through many phases and we had to be incredibly flexible, but we ended up being able to stay on budget and are happy that we ordered things when we did, even without an official plan. Below are the resources. Let me know if you have any questions!
Paint colors: Simply White by Benjamin Moore, flat/ trim is Manchester Tan by Benjamin Moore, Advance Satin
Wood: White Oak with Danish Oil and Matte Polyurethane sealant
Sconces: Schoolhouse Electric
Hardware: Emtek
Appliances: AGA Appliance Package
Curtains: Curtainsland (Eventually I would love to have some beautiful beige plaid curtains (that provide a little more darkening) throughout the living, dining, and kitchen, but these are bargain interim pieces)
Countertops: Taj Mahal Leathered
Flooring: Shaw White Oak in Champagne
Exterior paint: Onyx by Benjamin Moore
Reverse Osmosis System: iSpring
Faucets: Delta
Sink: Overstock
Barstools: I forget, but they were a huge bargain. They were supposed to be temporary but because they are so comfortable, I think they will be more long term!
If you made it this far, thanks for hanging. I have mentioned this on IG, but I just wanted to mention it here too. We have lived in several homes. Everything from shacking up with parents, recently a mobile home, and also in larger, unique homes. It truly does not matter what the home looks like. We have been content in every situation (even when mice skitter out of cabinets) because we know what is most important.
We have favorite memories in each space and I am so grateful that the size of home or the brand of furniture or the type of range a kitchen has does not determine my level of joy, nor does it dictate the rest of my family’s. For that I am incredibly grateful! Home is truly where the heart is and all glory belongs to the Father, the giver of life. But until he takes us elsewhere, I am going to really enjoy my coffee and my view out these windows, especially when it hits sub zero temperatures. South Dakota, I’m looking at you!